Falling for Apples: DIY Fall Apple Wreath
Just like that, it seems Mother Nature flipped the switch from summer to fall in Minnesota. We went from weather in the 80s to cool 50s and 60s, but I am embracing the season change! Good news, my favorite 70s fall weather is still in the forecast in the coming weeks.
Fall is definitely my favorite season! I’ve already thrown on a cozy sweatshirt and headed out on a walk with a PSL in hand.
In years past, I’ve found September to be a fun month to play with for decor around my home. You can go to straight to pumpkins and leaves, celebrate the return of football, or even add some pumpkin spice to your coffee station. This year, I decided to use another one of my fall favorites — apples — as decor inspiration! While I know I’ll transition to pumpkins later in the season, I thought it would be fun to do something a little different this month.
This post contains affiliate links, which means we may receive a commission if you click a link and purchase something that we have recommended. While clicking these links won't cost you any extra money, they will help us keep this site up and running!
Make Your Own Apple Wreath
Even as a craft blogger, I love browsing Pinterest for inspiration. Retail stores didn’t seem to have too much in the way of apple decor, but I came across some great ideas from other creatives! When I came across One Thousand Oaks’ apple wreath, I knew it would be fun to put my own spin on this fun project. A few years ago, I made a fall monogram wreath with leaves, and it was so simple and fun!
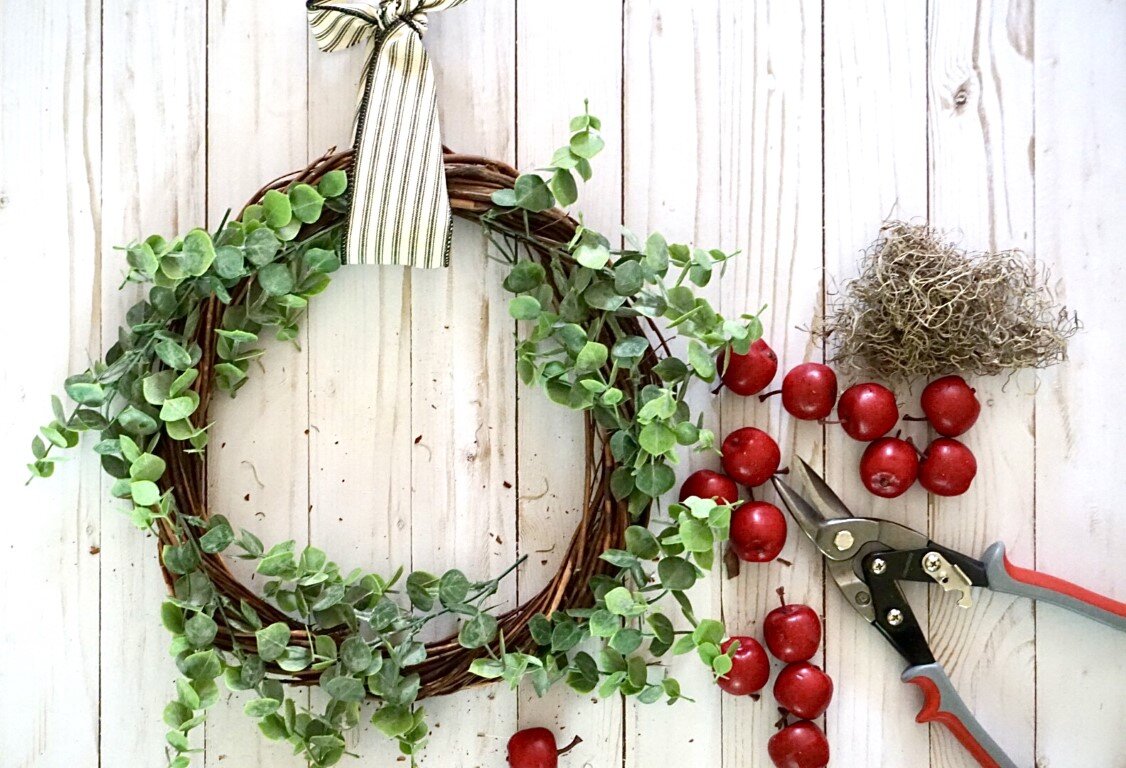
What You Need
Grapevine Wreath
Mini Apples
Greenery
Spanish Moss
Ribbon
Glue Gun
Wire cutter or Scissors
I am a bit of a craft supply hoarder over here, so several months back I picked up a grapevine wreath at Dollar Tree without a real plan for it. If you don’t just have one of these laying around, grapevine wreaths are very affordable and available every where from the dollar store to a craft store or online. If you make a trip to Dollar Tree, you can usually also find some greenery and Spanish moss in the same aisle. I also had Spanish moss on-hand and picked up the faux eucalyptus greenery bunch on a regular trip to Walmart.
The mini apples are the most specialty item you need for this project. I got two bags of these apples from Joann Fabrics, but you can also order similar ones from Amazon. You can often snag the Joann ones on sale or use a coupon as well.
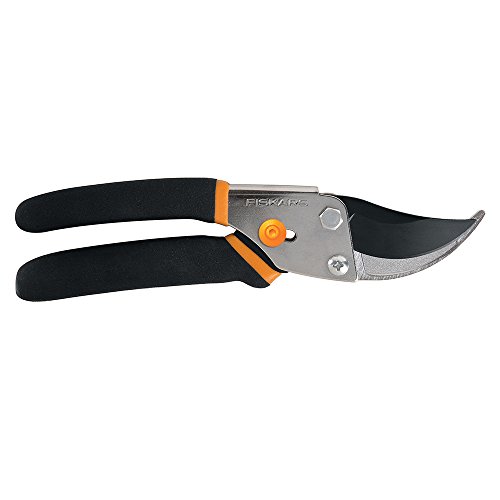
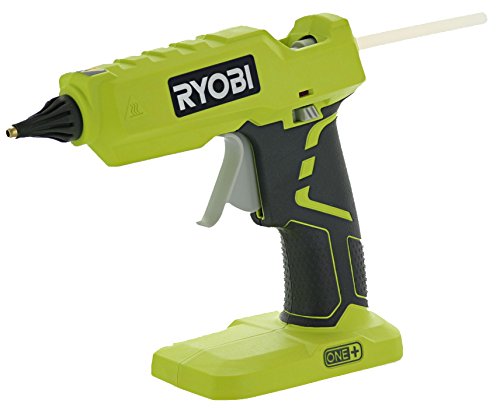
To start, cut and arrange your greenery around the grapevine wreath. I use a wire cutter to make the snipping a bit easier. Tuck the greenery in and use hot glue to secure it as needed. I’ll also use this as a chance to promote my hefty-duty Ryobi glue gun! This baby does not mess around and brings the heat, plus the battery fits other Ryobi tools. I am not sponsored by them in any way, just love their tools! When you’ve finished placing the greenery, tie on your ribbon of choice and make sure the greens are placed under it.


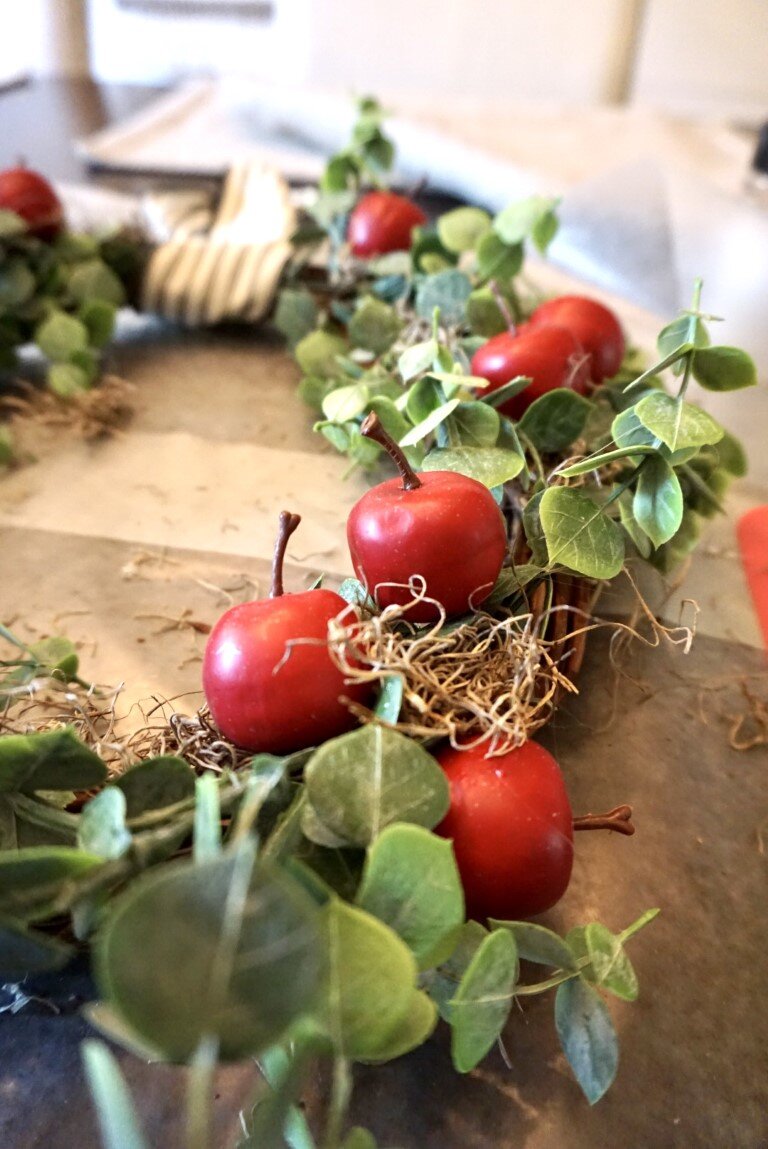
Next, place moss and apple clusters around the wreath. I also weaved the Spanish moss in throughout the wreath as well. You can place some under the apples or in other spots around the wreath. Secure the apples and moss with hot glue. There’s no exact science here, just play around until you like it!
Hang on your door or other space in your home!
Looking for more Fall inspiration? Check out these fun ideas from some of my favorite bloggers:
It’s More Than a Home: Pumpkin Scones
Pop of Gold: Ombre Rainbow Pumpkins
Sweet as Melli: Cinnamon Apple Cider Bourbon Cocktail
SugarPartiesLA: Hydro Dipping Fall Pumpkins
Festive Fancy Frugal: A Pumpkin Cake Fall Tablescape
Parties with a Cause: Medieval Times Feast
Giggle Living: Pumpkin Centerpiece Tutorial
Sunshine Tulip: DIY Fall Fabric Banner
Life is a Party: Book Themed Party
Hello Luvs: Halloween Poison Apples DIY
Shop this Project:
With busy lives and the wild times we are living in, sometimes having supplies delivered to your door is easiest! Here are similar projects to those used in this project available from Amazon that can be shipped right to you.


