Declaration as Decor: DIY Vintage Poster Frame for 4th of July Mantel
In February we had the chance to attend a family wedding in the Washington D.C. area. Anytime we have an opportunity to travel, we try to extend the trip a day or two to do some exploring nearby. I had been to D.C. before, but I am certain you could go many times and still not see it all!
This time, I ventured to the National Archives for the first time. Can you believe I hadn't even seen National Treasure, either!? We changed that immediately, when we got home! Before going to see the Constitution and Declaration of Independence on display, I wandered around the gift shop and decided that I absolutely needed to buy a replica Declaration of Independence for 4th of July decor!
As I wandered around the exhibit, the security guard made a joke about me trying to steal it and put in a fake (an obvious reference to National Treasure I didn't totally appreciate at the time). It was a lot more funny after I'd watched the movie.
Anyway-- now that you know the background of how I ended up with this year's focal point of my patriotic mantel, here's how you can make your own vintage style poster frame. It’s the perfect centerpiece of for your 4th of July mantel. You can see how I styled the full mantel by clicking here.
What You Need
Replica Declaration of Independence (Small 14x16 or Large 23x29)
2- 1/4 in. x 2 in. x 4 ft. Poplar Board (under $3 each on Home Depot online, I got the 3 ft. boards in store for about $1.50 a piece)
Minwax Dark Walnut Stain (Around $4 at Home Depot or another hardware store)
Staining Rag
Hot Glue + Hot Glue Gun
Step 1: Prep you Wood Boards
Pick up or order your poplar wood board. You can order 4 foot boards online from Home Depot, but I just picked up two of the 3 foot boards in store for about $3 total. I already had some Minwax Dark Walnut stain on hand and have used it on a ton of projects, including our wedding signage, but if you need a can, pick it up while you are there! A little goes a long way with stain, so it will last several projects.
Good news, you don't have to go to Washington, D.C. to get a replica Declaration of Independence! Now, I will say mine was pretty cheap at the gift shop, so buying online does come with a bit of a premium. I got the large size.
Next, you'll need a saw to cut the boards to the size of the replica. My poster measured to 22 inches, so I went with 23 inches for slight breathing room. If you don't have a saw at home, Home Depot will make cuts for you! Sand off any rough edges and brush off any wood dust.
Step 2: Stain Your Boards
Next, use a staining rag or old t-shirt to apply a coat of stain. Remember, a little goes a long way and you can't take the stain off. You can always apply more to achieve a darker look. Wipe off any excess stain immediately and let dry for several hours to overnight. You can also use gel stain or 1 hour stain in Espresso for a quicker dry time.
Step 3: Glue Declaration to Boards
Once the boards were dry, I glued the Declaration to the boards using Craft Goop. It's a nice strong glue! To ensure it stays down, you can add on some heavy books while it dries. Who knew my law school books had some many good reuse opportunities in their future?
Step 4: Add Twine to Hang
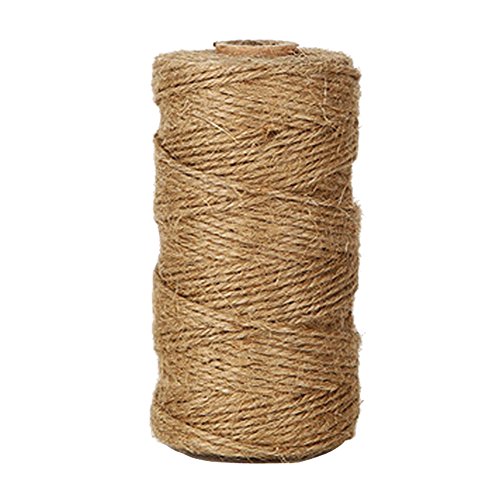
Finally, cut the desired length of twine and add on to the back with hot glue. I have to use this as a place to plug my favorite tool purchase of 2017-- the Cordless Ryobi Glue Gun. It literally changed my crafty life to have a cordless glue gun!!
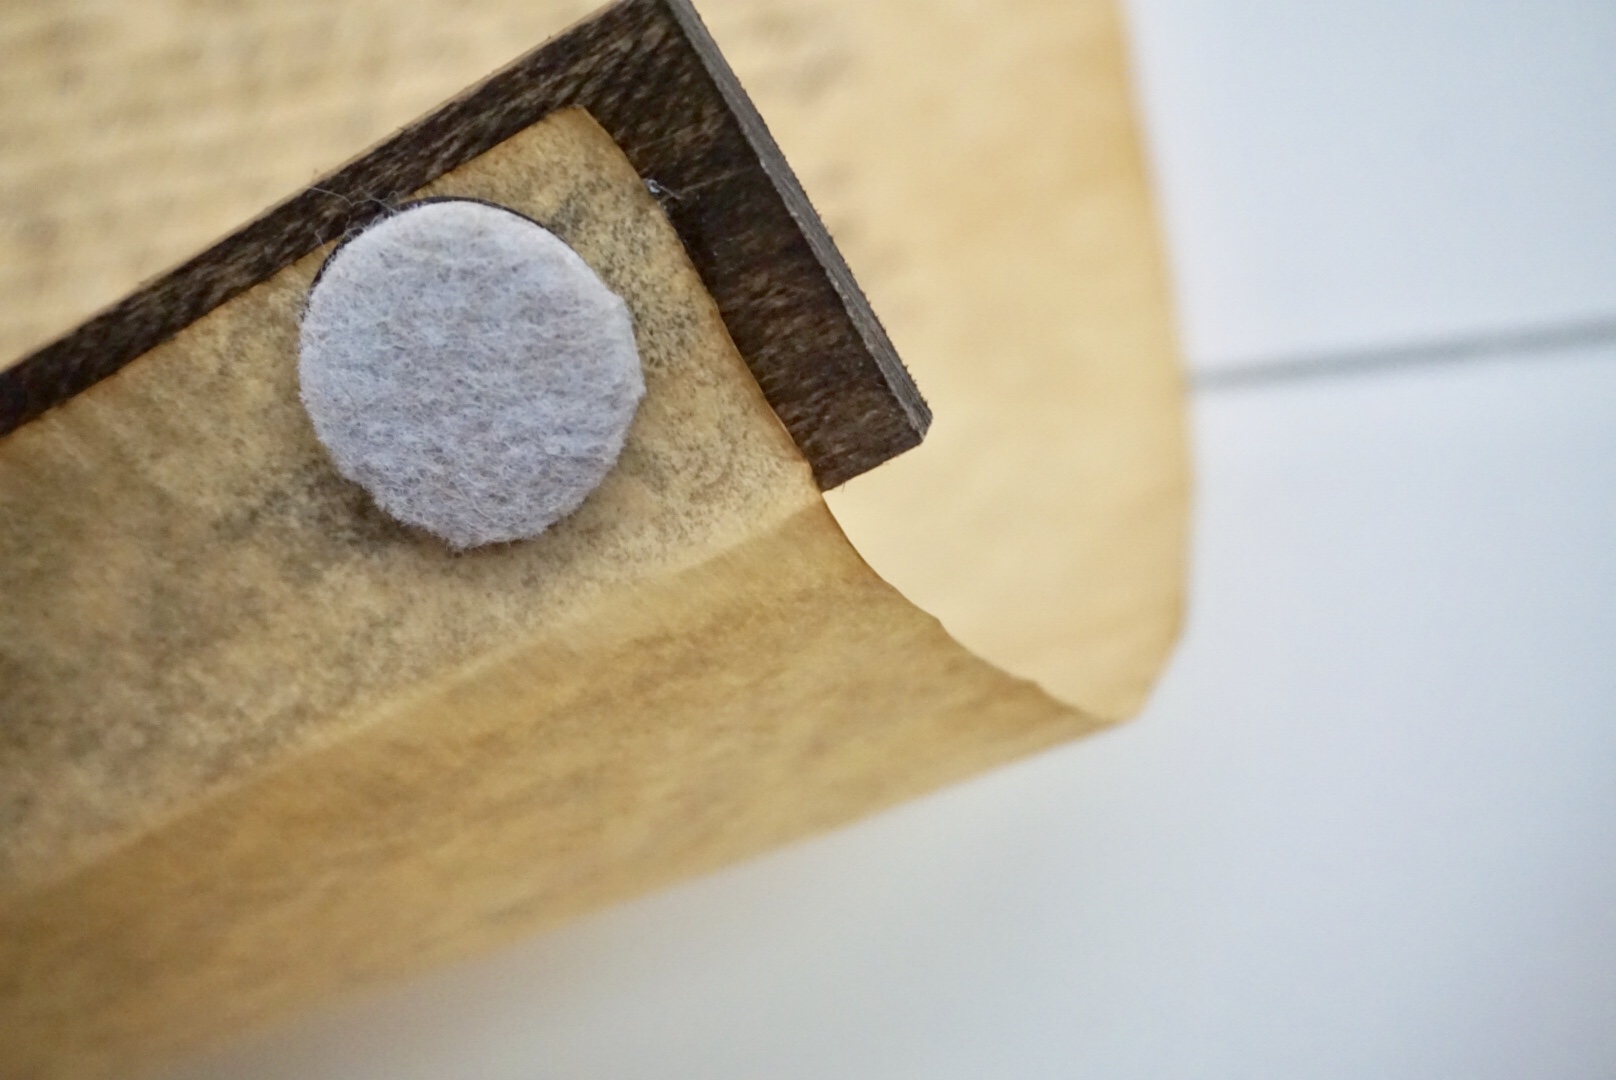
After the glue is dry, consider adding magnets and little felt pads for extra weight. This is completely optional. The bottom was tilting a bit and I realized I just needed to crease the Declaration a bit so it wasn't rolling up and pulling.
And there it is, the focal point! Having a focal point is a great start to any mantel. You can see another example from my Boho Valentine's Mantel along with more classic mantel styling tips. To see more of this year's patriotic mantel and check out some tips on how to save money shopping for seasonal decor, click here!
This post contains affiliate links, which means we may receive a commission if you click a link and purchase something that we have recommended. While clicking these links won't cost you any extra money, they will help us keep this site up and running!


