You May Be Seated: A DIY Wedding Seating Chart

Pinterest is great when you are planning a wedding, but holy smokes were there a million ideas for seating charts. Do you do it alphabetically? By table? Do people pick up there place cards at a table? Do you do a seating chart and people find their spot at a table? Do you do free for all seating with a cute little sign? SO.MANY.OPTIONS!
There isn't a right or wrong way to go, but I decided to ask our wedding coordinator and caterer for advice on this one. For the size of our wedding (about 170), they recommended having an alphabetical seating chart where people could find their table number.
Here's why:
Avoiding Chaos. If you have a larger wedding, it can be chaotic for people to try and find a table if there is no guidance on where to sit. Tables won't work out perfectly, but they won't be there the whole night.
Making it easy for guests. Doing a seating chart by table number for a larger group can also cause confusion. The whole reason for the chart is to figure out what table the guest is at and if they have to scan through every table to find their name, it's time consuming. Alphabetical lists are easier to follow.
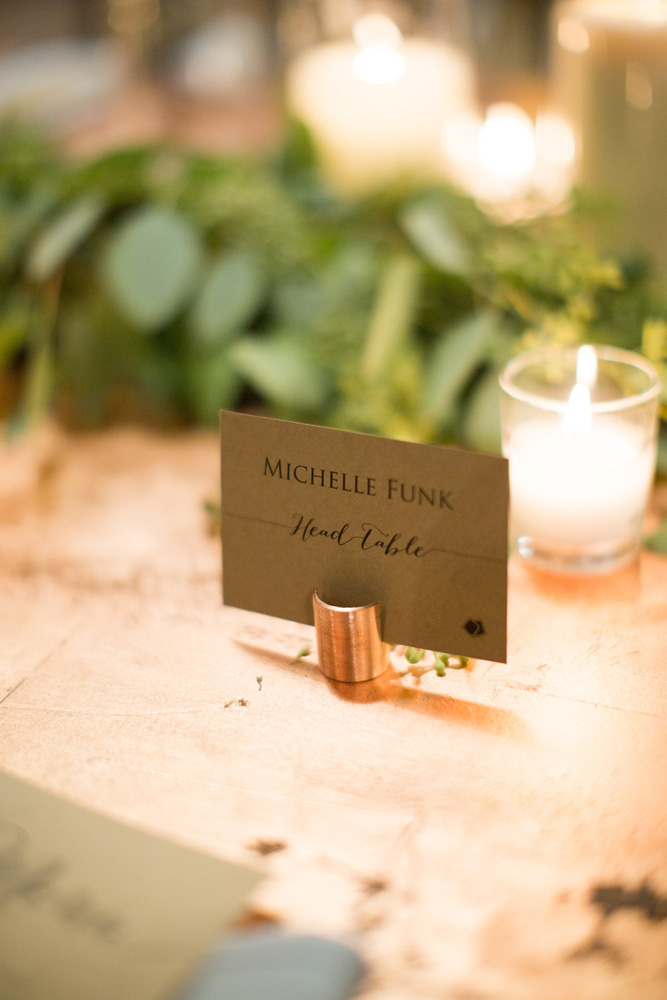
Getting the look you want. Place card tables can be a great option (also generally arranged alphabetically), but if you don't have tent-style place cards and want them in some kind of holder (think birch wood, wine cork, copper piping, etc.) then you risk guests being confused and not taking it all to the table. If you cared enough to pick out place card holders, you are a bride who is probably into the details, so how tragic to have half of them go unused on your wedding day.
With that advice in mind, I set out to make an alphabetical seating chart that meshed with our other signage and decor. If you've followed my wedding blog posts at all, you know there was wood, kraft paper, copper and burgundy. With just a few materials, I managed to incorporate all of it except the burgundy!
What You Need
Plywood
Stain
Plastic Gloves
Staining Rag
Sand Paper
Saw
Stencil or Vinyl Cut out Words
Copper Aluminum Sheet
Drill
Screws
Kraft Cardstock
To create a similar seating chart, you will want to follow the same staining instructions I included in my recent post about our DIY Wedding Signs. We used the same plywood and the same Minwax Dark Walnut stain.
I wanted to incorporate copper somehow into the seating chart, but couldn't find an an affordable piece to do the entire seating chart on, so I decided to use a piece of Copper colored aluminum from Home Depot. These sheets cost about $15.
From there, we drilled four small holes into the copper and screwed it into the stained wood. We then sorted our guest list alphabetically and determined good letter ranges to make the list of names about even. Using the kraft cardstock we had for other items, we printed those, along with the alphabet ranges. I use double-sided adhesive strip tape that I picked up at Michaels to secure them.

Our lovey and talented photographer painted on the "Your Seat Awaits" lettering, but you can achieve a similar look using vinyl wording. If you don't have a cutting machine to make your own vinyl lettering, check out where we purchased ours for some of our other signs here or check out potential options on Etsy.
The sign turned out great and people were able to make their way to their seats! Here is a sneak peak of our table settings! More details to come in a future Wedding Wednesday post!