Run for the Roses: DIY Kentucky Derby Centerpiece
Every May, the horses hit the track for the Kentucky Derby. What other mainstream sporting event promotes dressing in seersucker, floral prints, big hats, bow ties, and sipping on delicious fresh cocktails? This is the perfect occasion for having over some friends, watching the race, and enjoying the Spring weather.
I've teamed up with Meghan of Elva M. Design Studio to bring you all kinds of fun Kentucky Derby Party ideas. This post breaks down how to create your own "Run for the Roses" centerpiece. Use it for a festive table or have a full-fledged dinner party! Be sure to visit this post to check out the full details of the party including inspiration for decor, food, drinks, and free party printables!
What You Need
Wood Box or Container
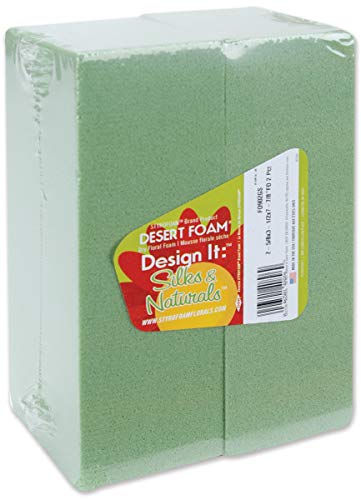
Floral Styrofoam
Faux Rose Bunches
Wire Cutter/Floral Cutting Tool
Plastic Horses
Gold Spray Paint
Small Horseshoe
I purchased the faux roses, floral styrofoam, and plastic toy hoses all at my local Dollar Tree, where you guessed it, everything is a $1! This made it a pretty cheap project, as I already had the wooden box, wire cutter, and some gold spray paint. If you don’t have a dollar store nearby or don’t feel like leaving your couch, you can shop this project at the end of the post!
Now, onto the tutorial!
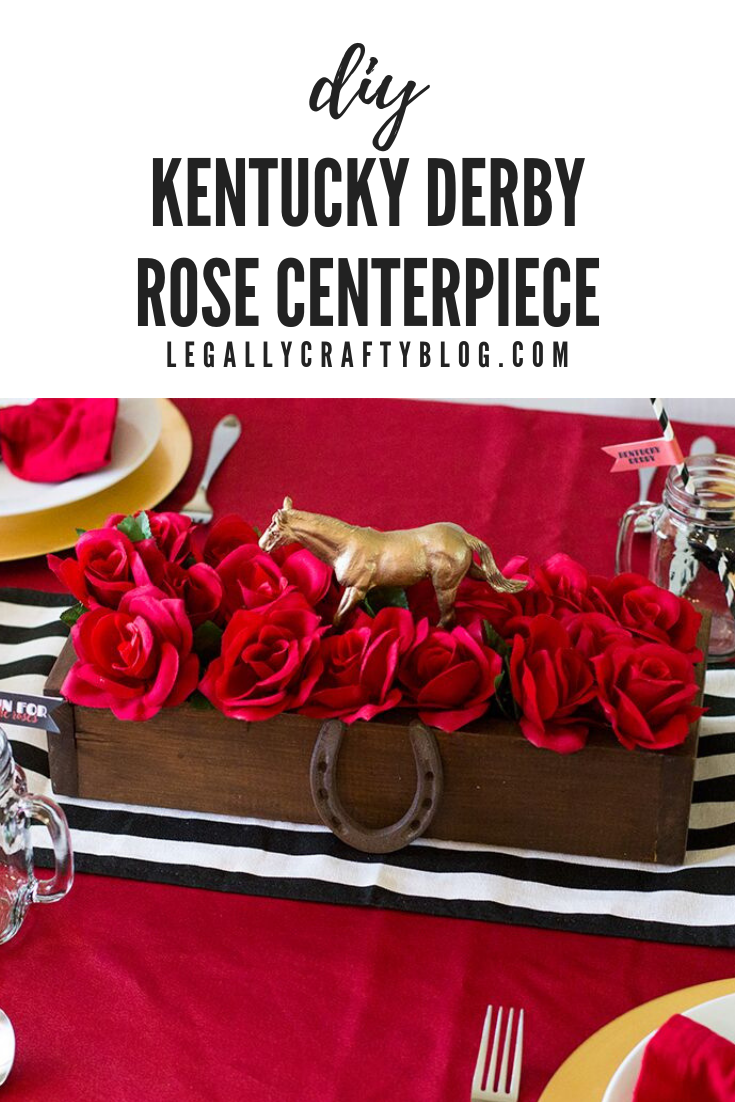
Start by choosing a base container. I used a unfinished rectangular wood box that my husband made years ago in shop class. We found it when we were doing a little Spring cleaning and he was going to toss it. I saw its potential and with a little stain, it was like new again! If you aren't inclined to make your own container, you can pick up something similar at a number of craft or home stores.
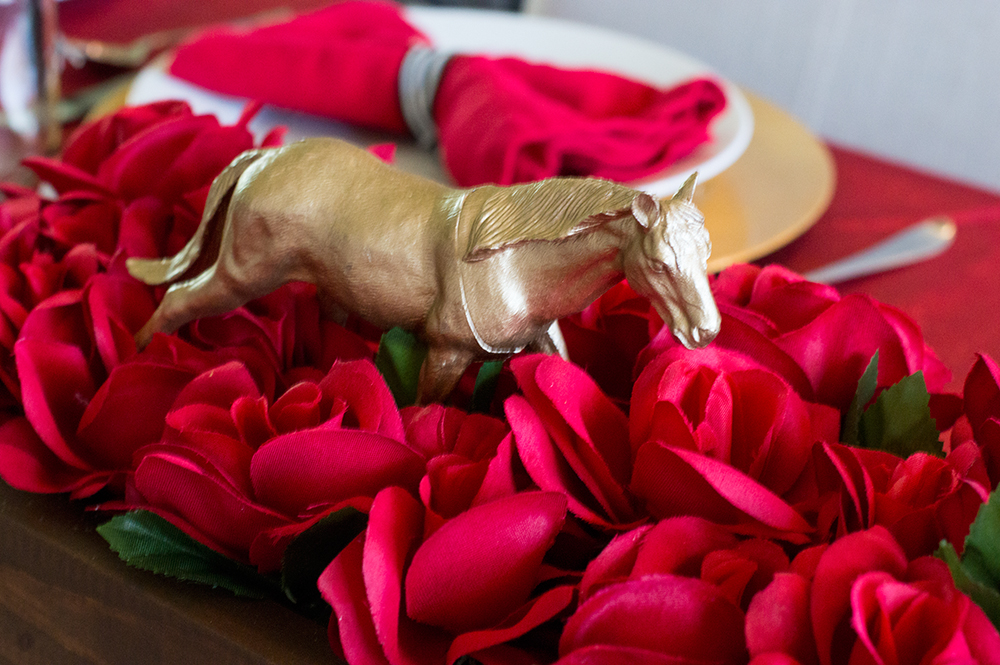
After I'd stained the wood box, I spray painted 3 different plastic horses from Dollar Tree. I used some scrap pieces of wood to prop them up, making it easy to get underneath them when spray painting. It also helped avoid any pooling of the spray paint as they dried. It took two coats to get them fully covered.
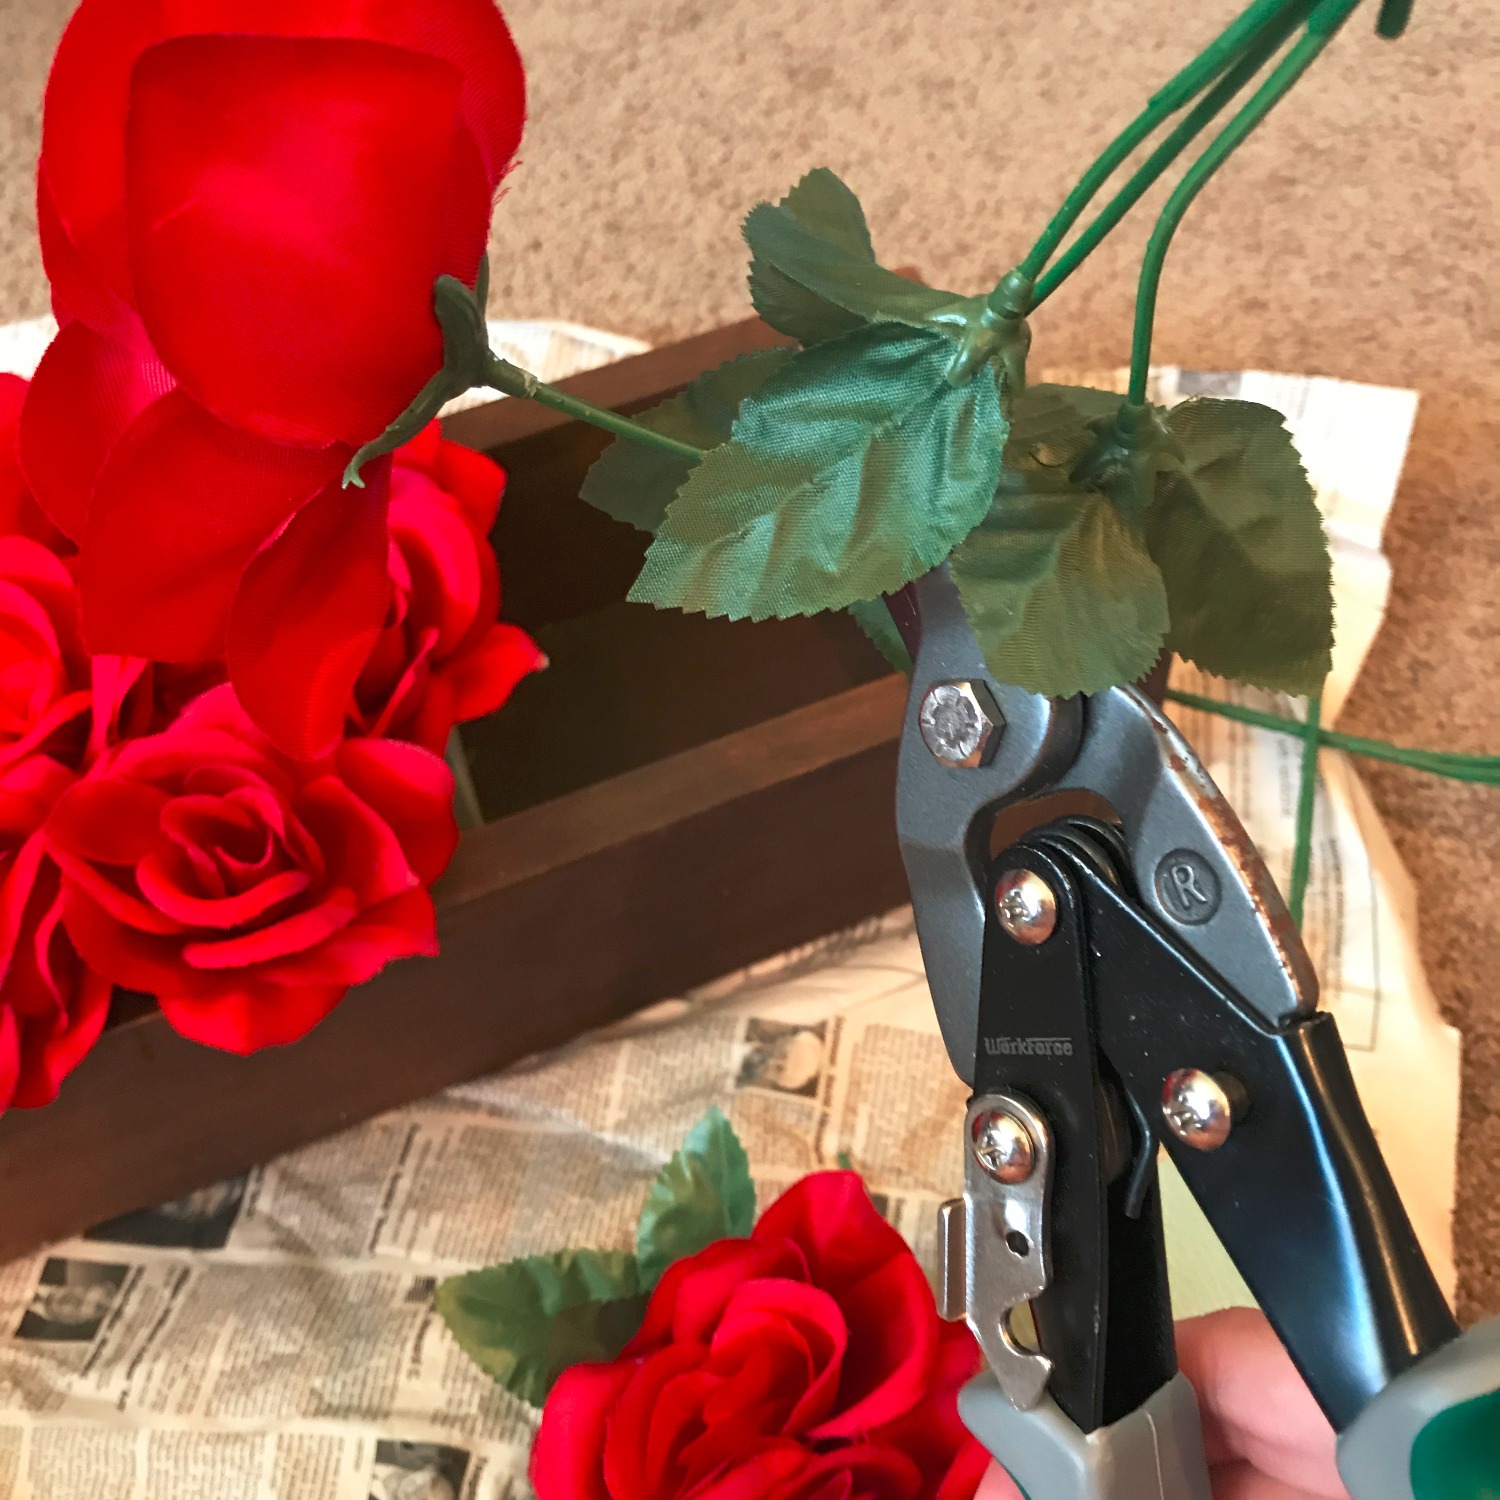
To arrange the roses, I placed 1 1/2 rectangular pieces of green floral styrofoam to fit the length of the wood box. It did not fit the full width of the box, but that worked out fine. Once I knew I had enough foam to fit the length of the box, I began cutting the roses off of the bunches using a wire cutter and placed them into the styrofoam until both pieces were completely filled in. I also cut the green leaves separately and placed those in throughout the arrangement. The green foam can be a little messy, so I recommend putting newspaper or wax paper down while you are working. It makes for an easier clean-up.
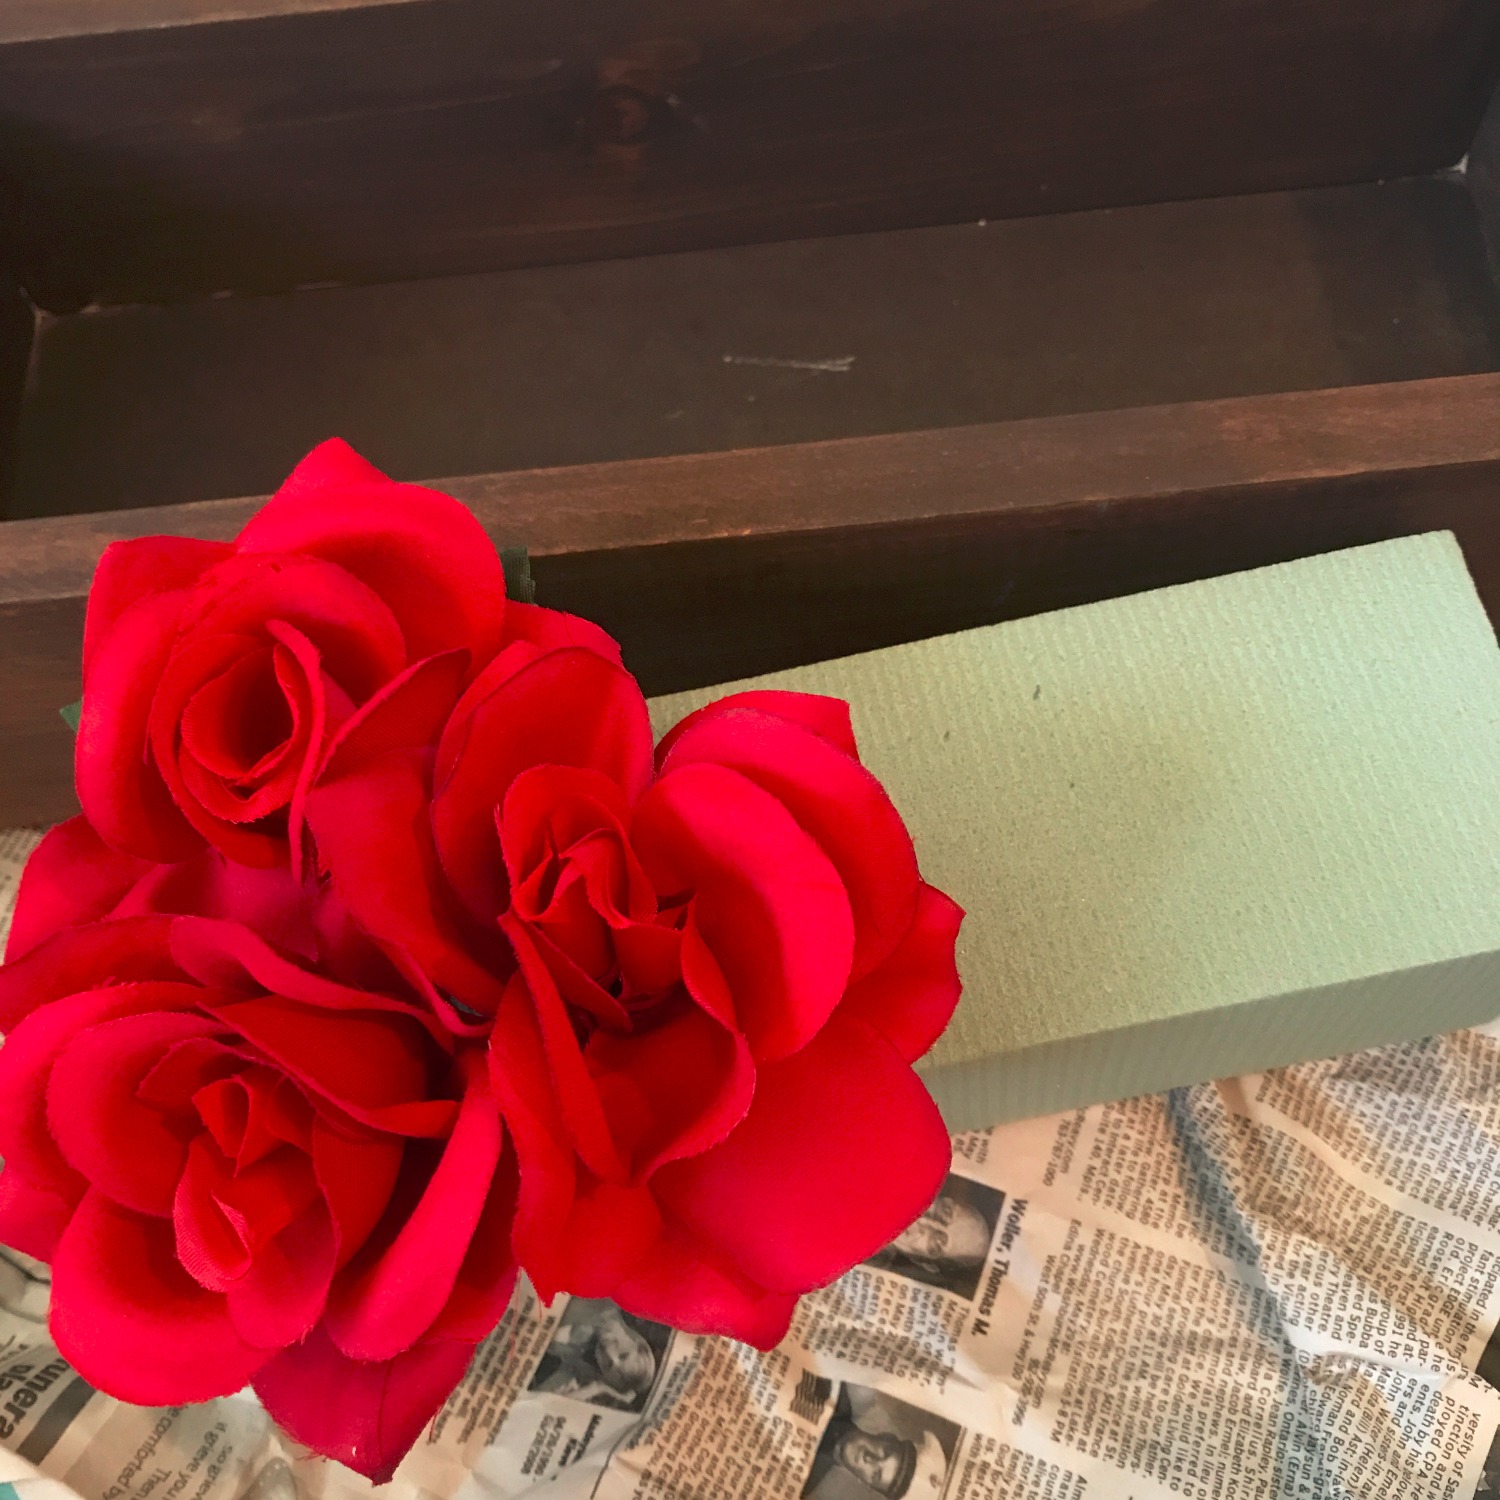
Once that was done, I put the floral into the box and then used the remaining roses to fill in around the rest of the box until it was completely filled out.
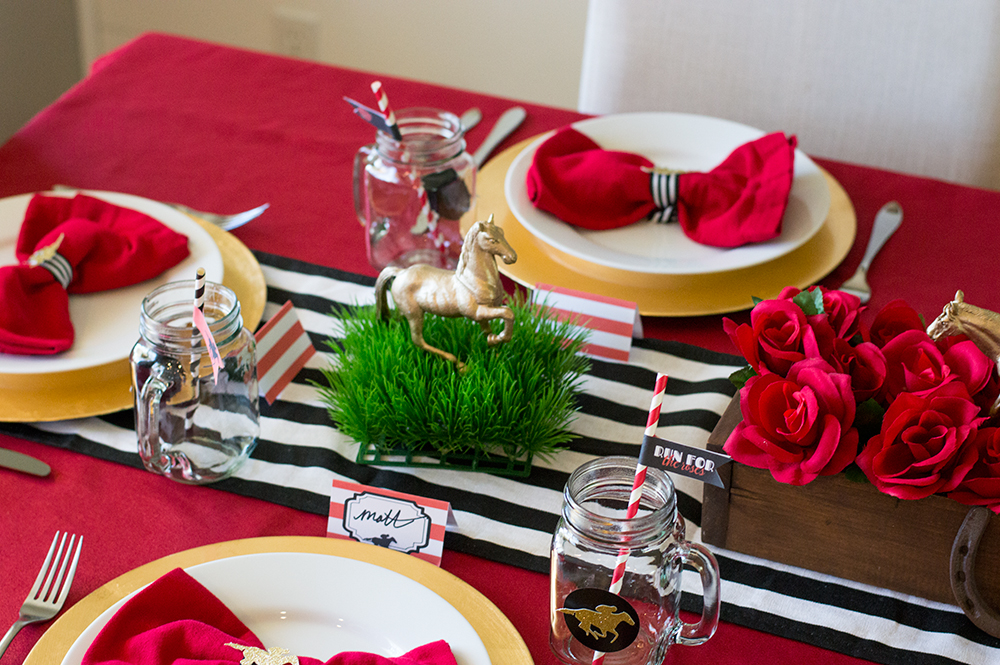
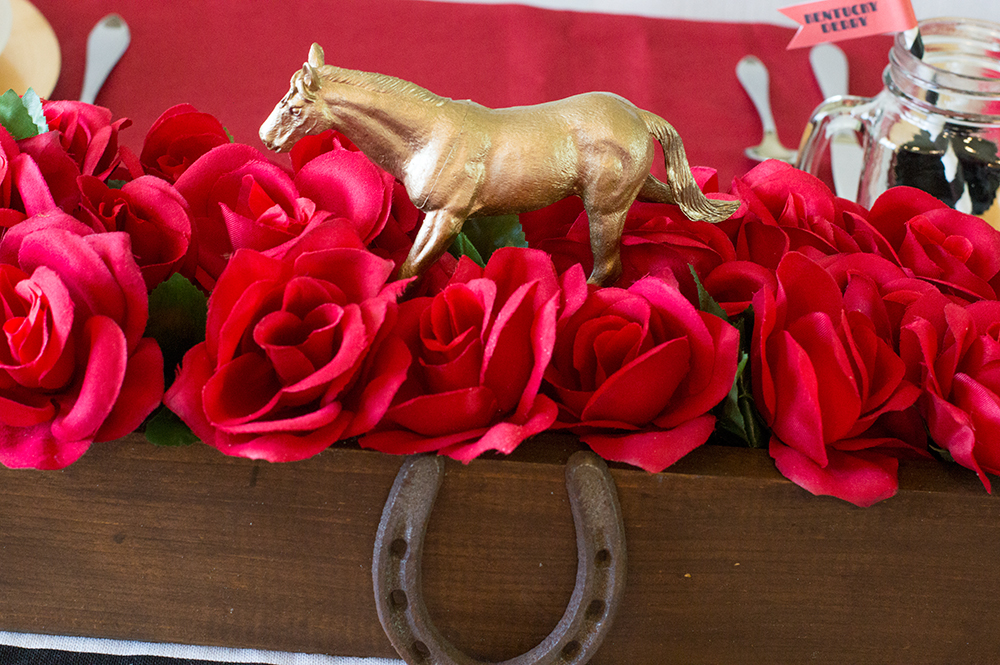
Remember those spray painted horses? Place one (or more if you like) in the midst of your roses to give it a little height!
I also found the perfect little horseshoe at an antique shop on a recent weekend trip to the North Shore of Lake Superior. I temporarily attached it to the box, as I wanted to use it again for future decor. No horseshoes laying around? Print one out on cardstock and attach with tape.
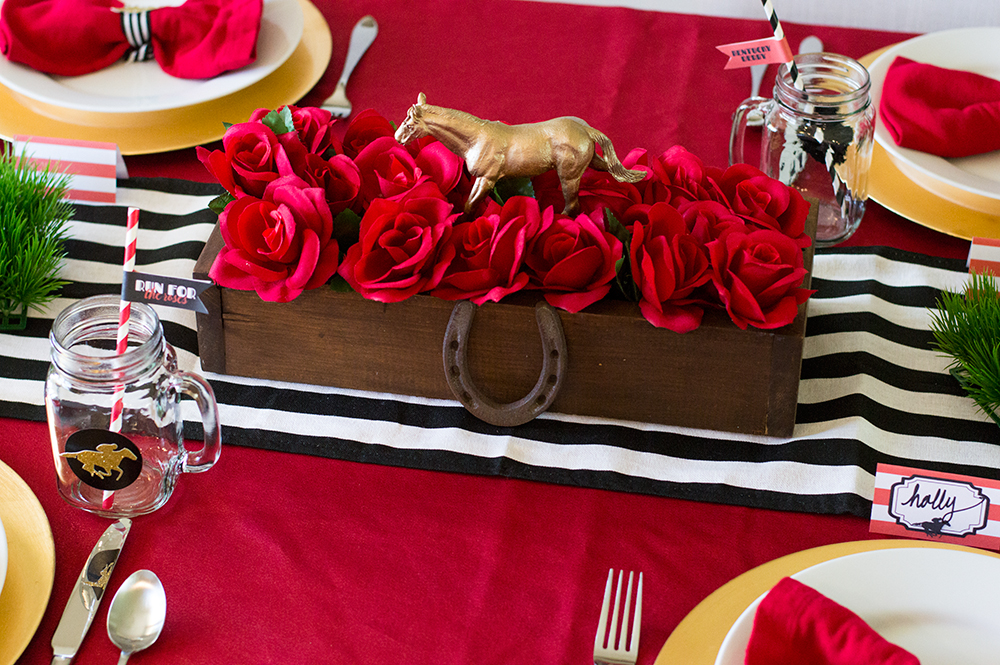
Meghan also had some fun grass mats she snagged at Michaels for Easter decor, so we added those to the table and placed a horse in each of those. We both love when you can reuse items in a new way!
Pin for Later:
This post contains affiliate links, which means we may receive a commission if you click a link and purchase something that we have recommended. While clicking these links won't cost you any extra money, they will help us keep this site up and running!
