
"I Saw Sparks": DIY Match Box Wedding Favors
Valentine's Day might be over, but I am still feeling love in the air! For this week's Wedding Wednesday, I am featuring our DIY match box favors.

A quick search on Pinterest or a scroll through Instagram yields a ton of ideas for wedding favors. As you plan your wedding, you might wonder, are wedding favors even worth it? Favors have certainly gained popularity over the past several years and everyone has their own opinion. While having a favor certainly is not necessary, it can be a nice personal touch and a "thank you" for everyone who came to make your day special.
I've been to weddings with favors ranging from a make-and-take candy bar to local honey. And, although I knew I wanted to do some kind of favor, I knew it wasn't something I wanted to allocate a huge portion of our budget to it.
As I searched for ideas for a favor, I really liked the idea of doing matchbooks/match boxes. It seemed psuedo-trendy (matchbooks seems to be cool again), simple, and something everyone can use at home!
After doing some research, I found that you can buy personalized matchbooks for around $1.00 or slightly less a piece, but I knew we could make them for less! Admittedly, it did turn into a more time consuming project than I thought it would be and without the help of my wonderful mother, I don't think I could have gotten this done with everything I had on my plate.
With the time-consuming caveat, here is the tutorial!
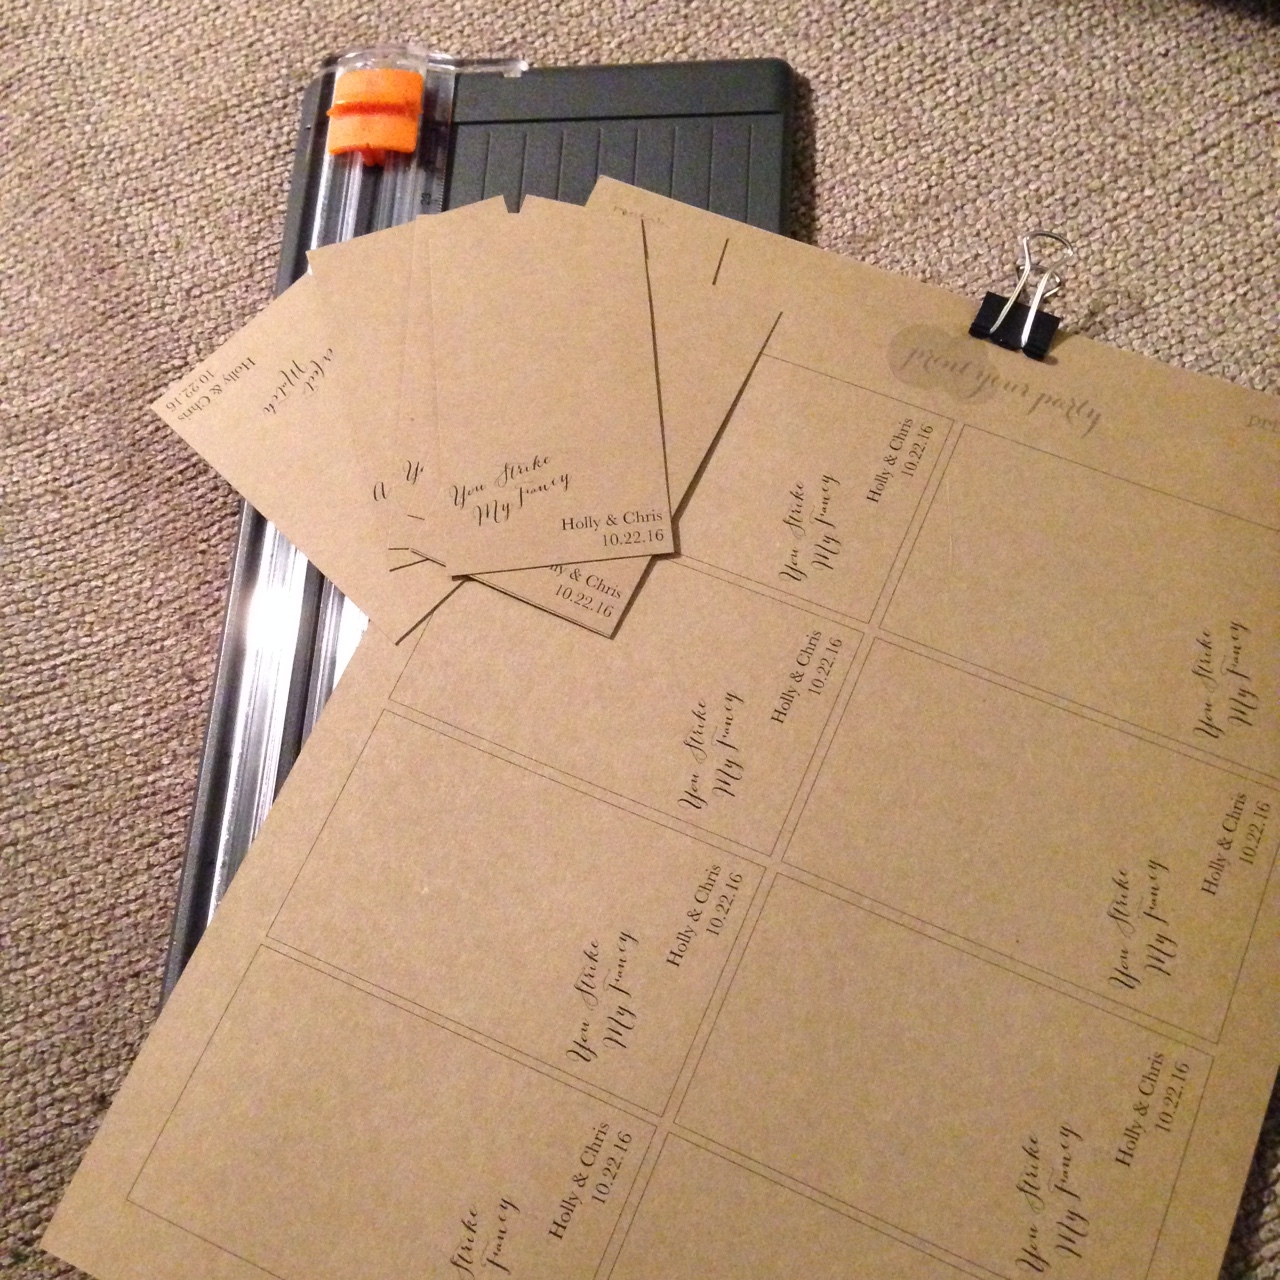
Step 1: Design or Purchase a Template
After trying to play around with this myself and with my hubby's help, too, we decided it was worth it to just buy a printable template from Etsy. The shop owner was able to customize this listing and change the font to match our invitations and other printed items. She also created a template with three different phrases.
Step 2: Purchase Supplies
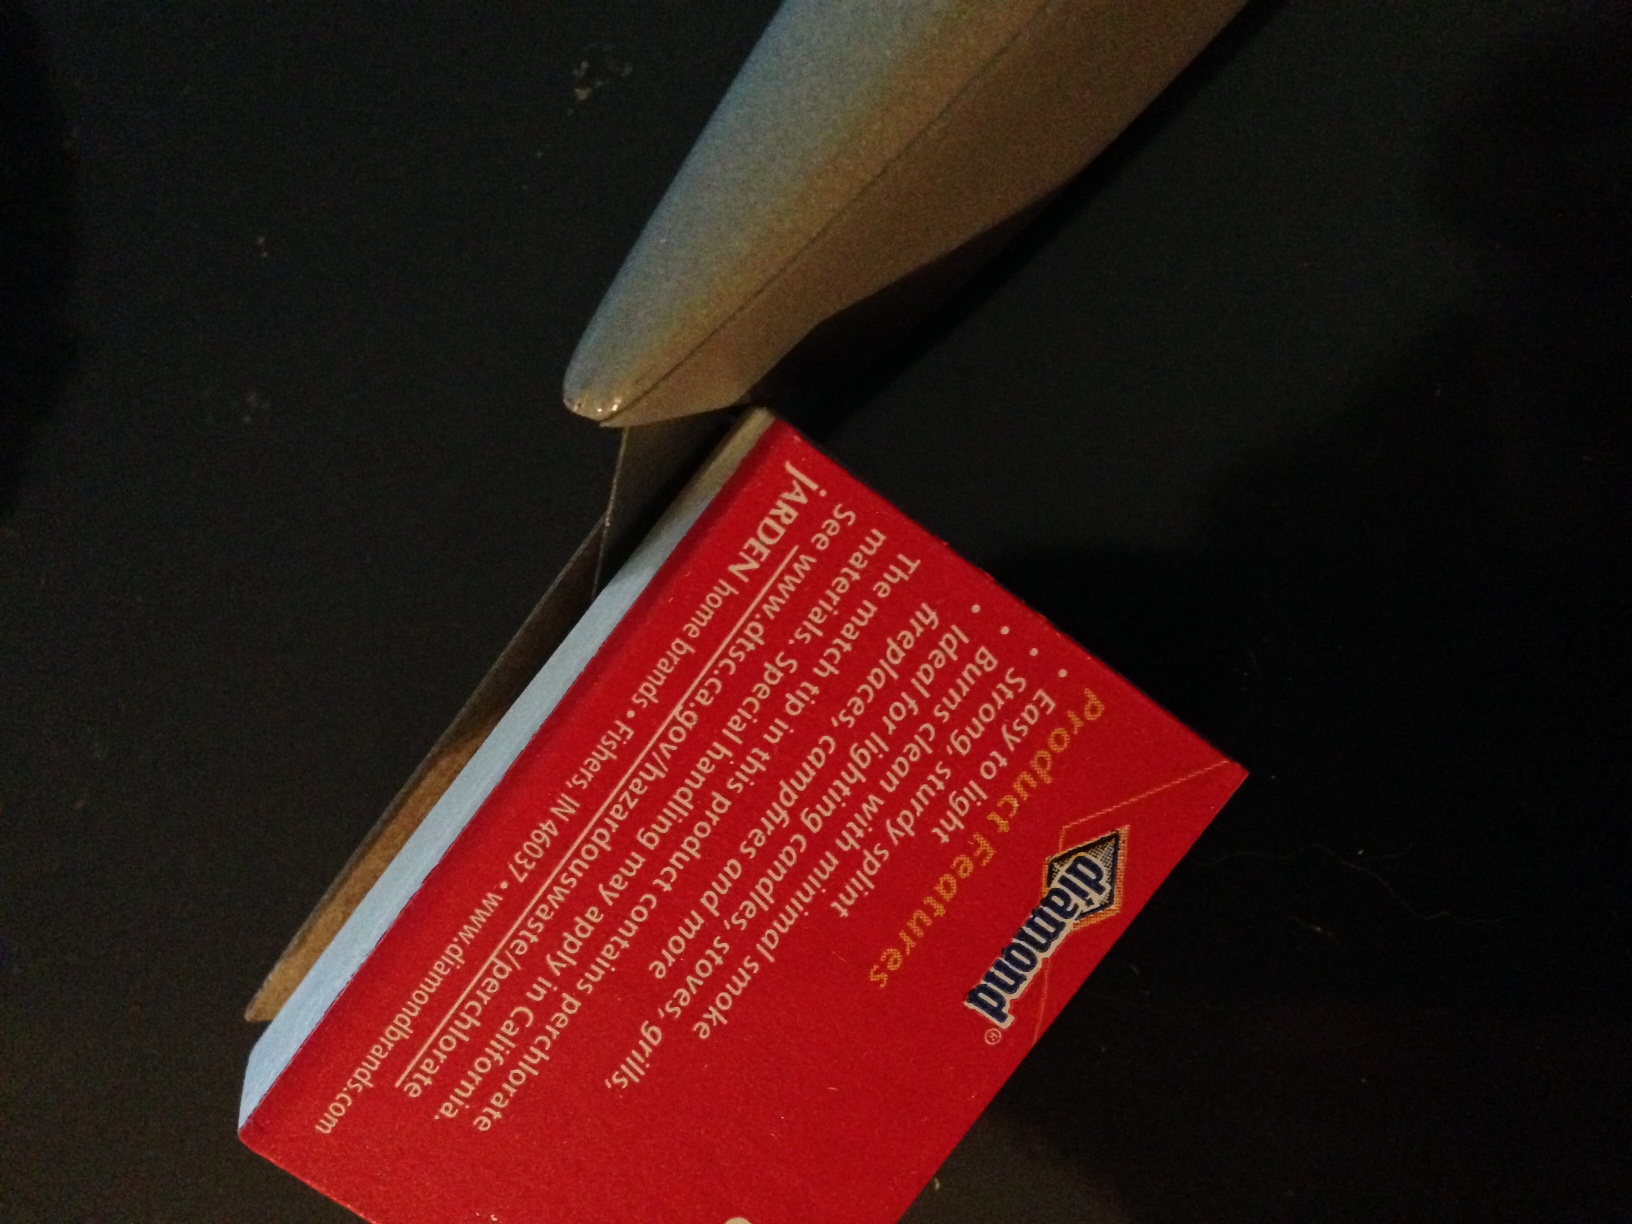
Purchase packages of match boxes from your local dollar store. In messaging back and forth with the Etsy shop owner, she let me know what box size and brands to look for when shopping. I was able to find boxes of 10 at Dollar Tree. I originally planned on one matchbox per wedding guest, but our wedding coordinators recommended making one favor per couple or family. Even with that number, they told us we'd have leftovers (and they were right!).

You will also need to purchase glue. My mom was the hero here. She tried all kinds of things and settled on the Tacky Glue pictured below. It held up well!

A paper trimmer will also come in handy and I promise you it is a craft supply essential item. You can always use a Michaels or Hobby Lobby coupon to get it cheaper than it's listed on Amazon as well.

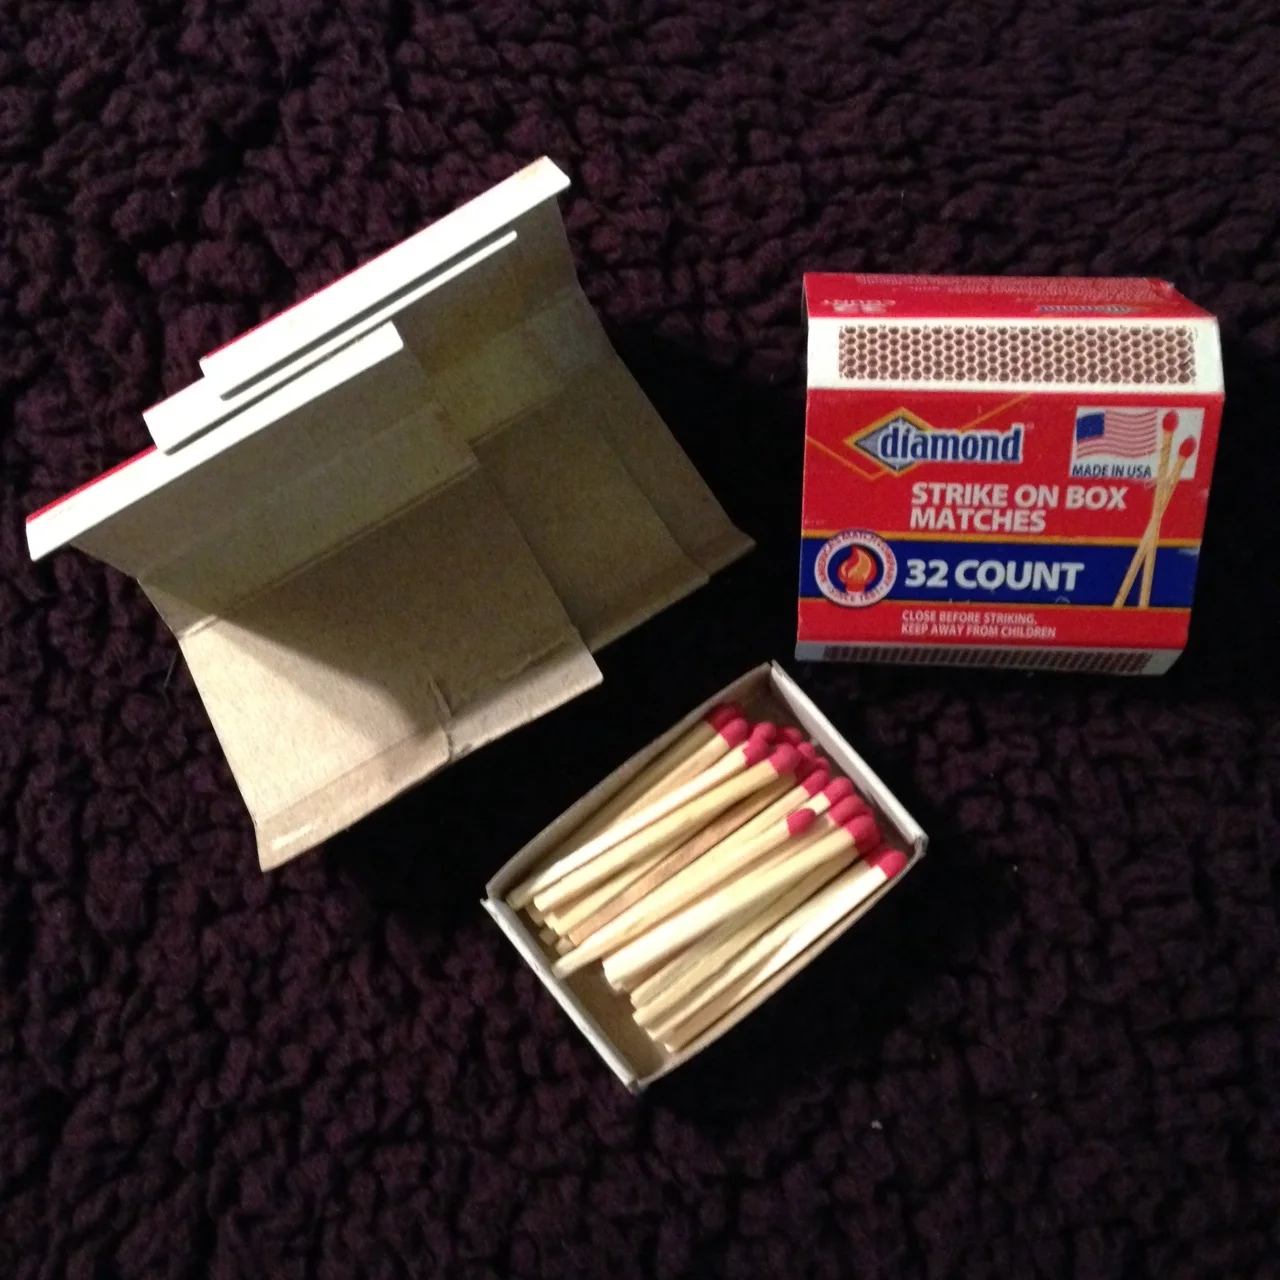
Step 3: Slice Match Boxes Apart
Wait, what? Yep! I'd read in another tutorial that the best way to get the boxes covered, was to slice open each match book and flatten it before gluing on the template. This, my friends, is where things get a little bit time consuming. Again, my mother is a saint for doing all of this.
Step 4: Cut Match Box Templates and Glue Onto Boxes
The template worked pretty well. I had them printed on kraft paper to match the rest of our wedding paper goods. However, some additional trimming had to be done to get them to fit perfectly. This is where that paper trimmer comes in real handy! Once, it's cut to fit the box, you can glue it on with the tacky glue.
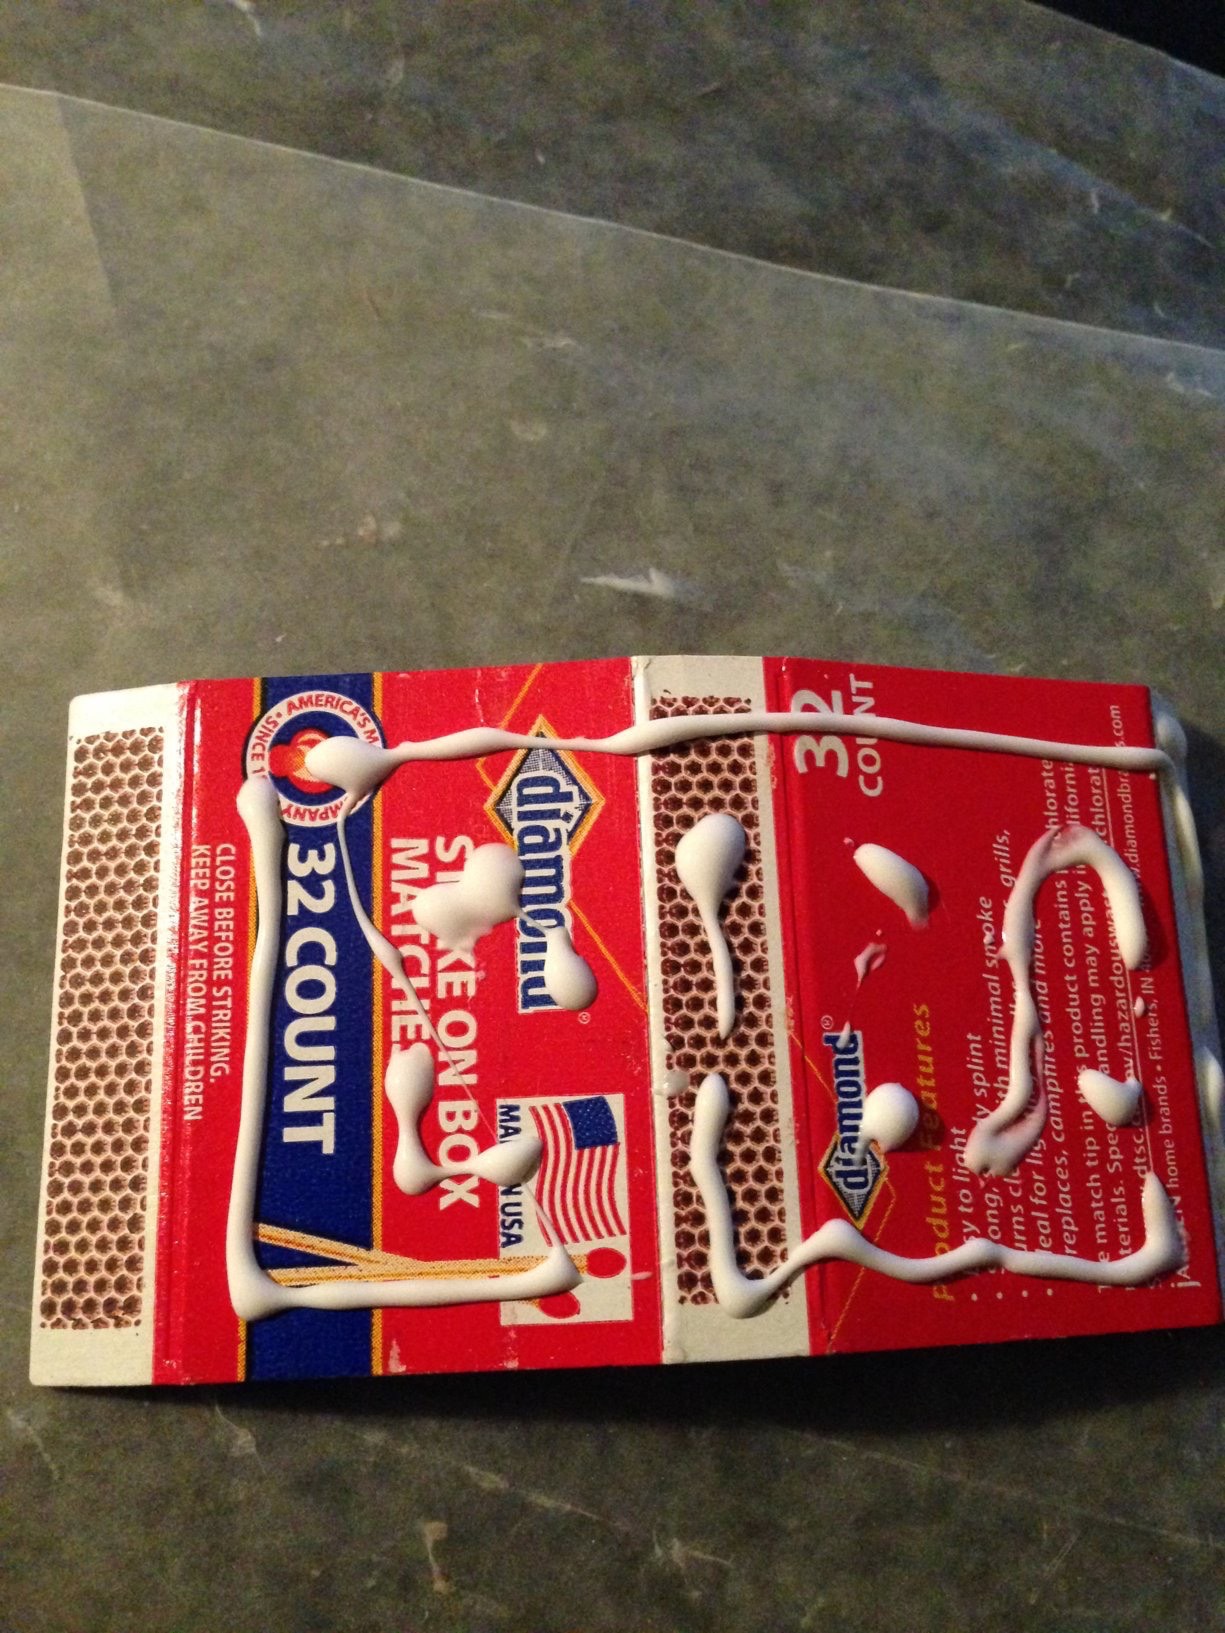
Step 5: Put Match Boxes Back Together
Once the boxes have had a chance to dry, reassembled the boxes and seal with the tacky glue.

The matchboxes were displayed in vintage copper pieces around the reception at places like the bar and the guestbook area. We ended up with a few leftovers, but plenty of them were taken home by our guests!