DIY Wood Chargers
A couple of months back I was browsing a favorite local store and saw some wood chargers styled on a tablescape. They were a bit darker than I wanted and they also had some seasonal words painted on them, so I decided I should make a set! They were perfect for a Friendsgiving table and I know they’ll come in handy for so many future tables, too.
What You Need
The materials for this project were around $20, as I had the many of the supplies at home. Note that purchasing a saw or electric sander would create a significant expense, but you can have stores cut the wood and purchase cheap sanding blocks as an alternative.

12 inch width Boards
Circular Saw or Have Store Cut
Sander or Sanding Block
Stain
Staining Pad
Staining Towel
Staining Gloves
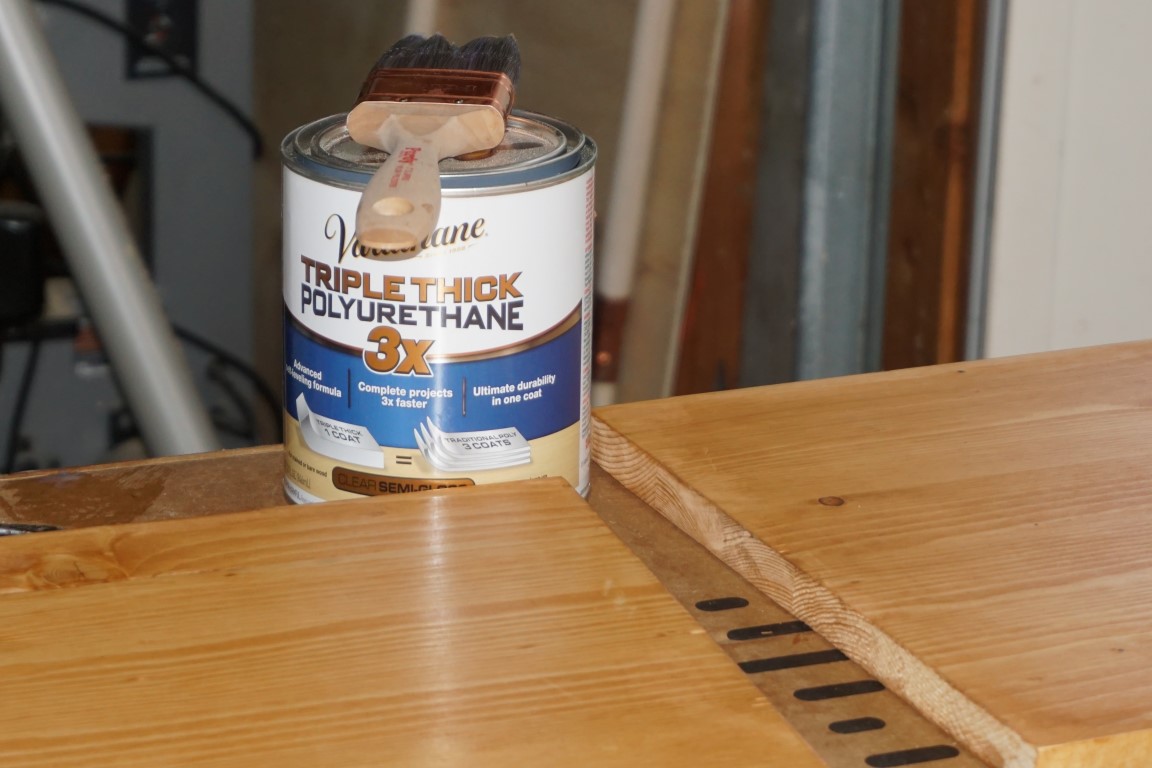
Polyurethane
Paint Brush
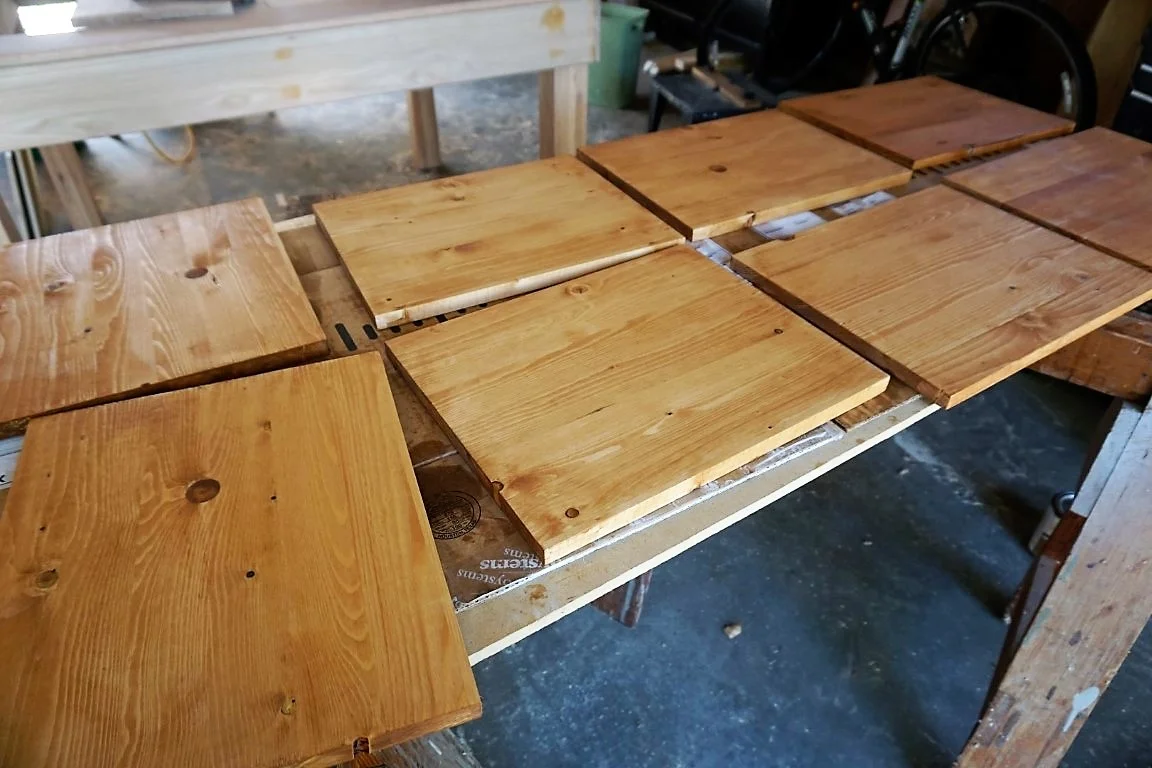
Step 1: Cut and Sand Boards
A number of different boards will work for this project. I selected a higher quality finished wood to avoid a lot of knots and oddities. Select a board at least 12 inches in width so that it fits a plate and leaves some extra room for silverware and glassware. Cut your boards at 15 inches in width. You’ll want to purchase enough boards to get as many chargers out of it as you want to make. I made 8, so I calculated what I needed by taking the length of the board divided by 15.
You’ll want to mark the boards with a pencil and cut with a circular saw (or have someone help if power tools aren’t your thing). Many hardware stores like Home Depot will cut the boards for you for a small fee per cut.
Once the boards are cut, you’ll want to sand the surfaces smooth. Last year I didn’t realize how much of a gift my husband’s Christmas gift would be to me! The Ryobi cordless sanders are awesome and you aren’t tethered to a power cord.

Step 2: Stain the Chargers & Let Dry

For a lot of my staining projects, I have used a Dark Walnut, but I wanted to do something different this time. After looking at the finish samples at Menards (a hardware and home store chain), I settled on Golden Pecan. As I started applying the stain, it just wasn’t giving these particular boards the look I was hoping to achieve. To help give it more color, I combined the Golden Pecan and mixed in some Ipswich Pine.
I don’t have exact ratios to share, but I’d recommend using a plastic container to try mixing it adding a little bit at a time and testing the color on scrap wood until you’ve got a color you like. I’ve mixed stain before when creating my DIY Farmhouse Shelves and I love how you can create something a bit unique.
Do as many coats as needed to achieve your desired color. I did one full coat and then adding additional stain to spots that looked light. Remember to wipe off any excess stain. I then let them dry for 24 hours.
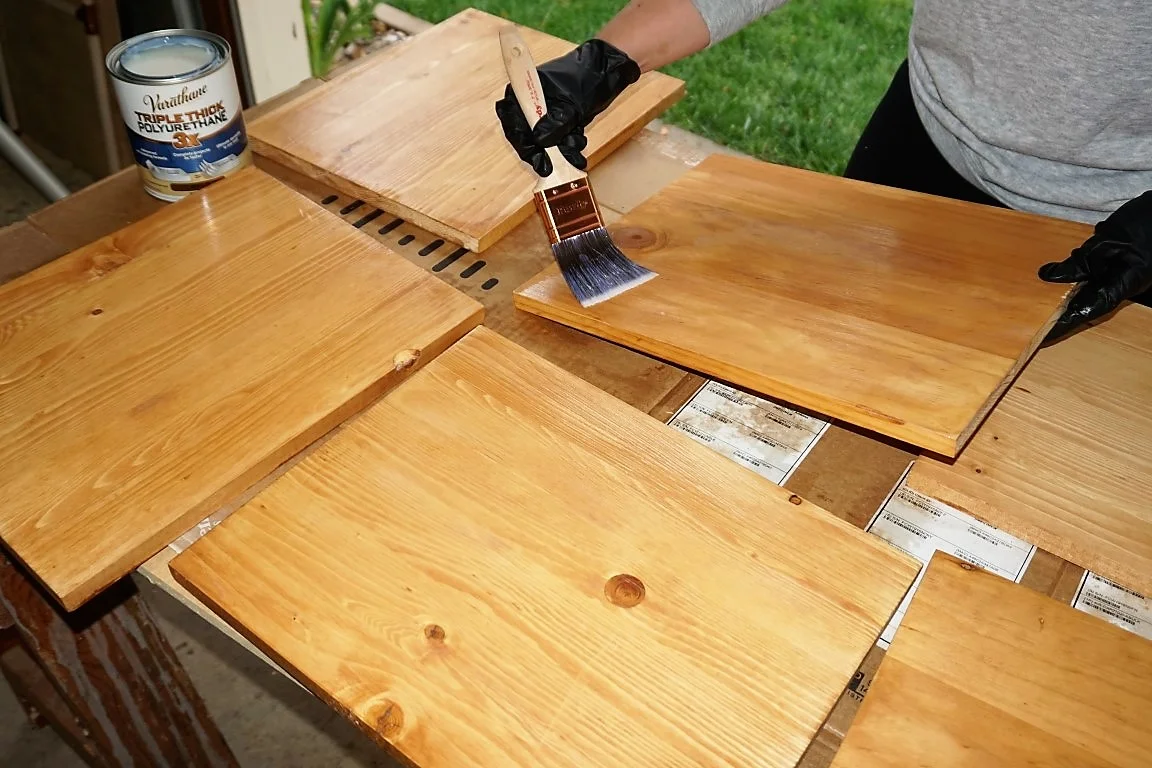
Step 3: Apply Polyurethane
I don’t always apply a polyurethane coat with staining projects, but since chargers are so close to food and part of a dining experience, I wanted them to be protected from stains and be able to wipe them down. Using a paint brush, coat on the polyurethane and wipe away and drips. As with the stain, a little goes a long way.
I did one side and the edges first and then flipped over and did the other side. You’ll want to give drying time in between. I waited 24 hours, however, it may dry more quickly. It was just easier to wait until the next day.
Step 4: Enjoy!
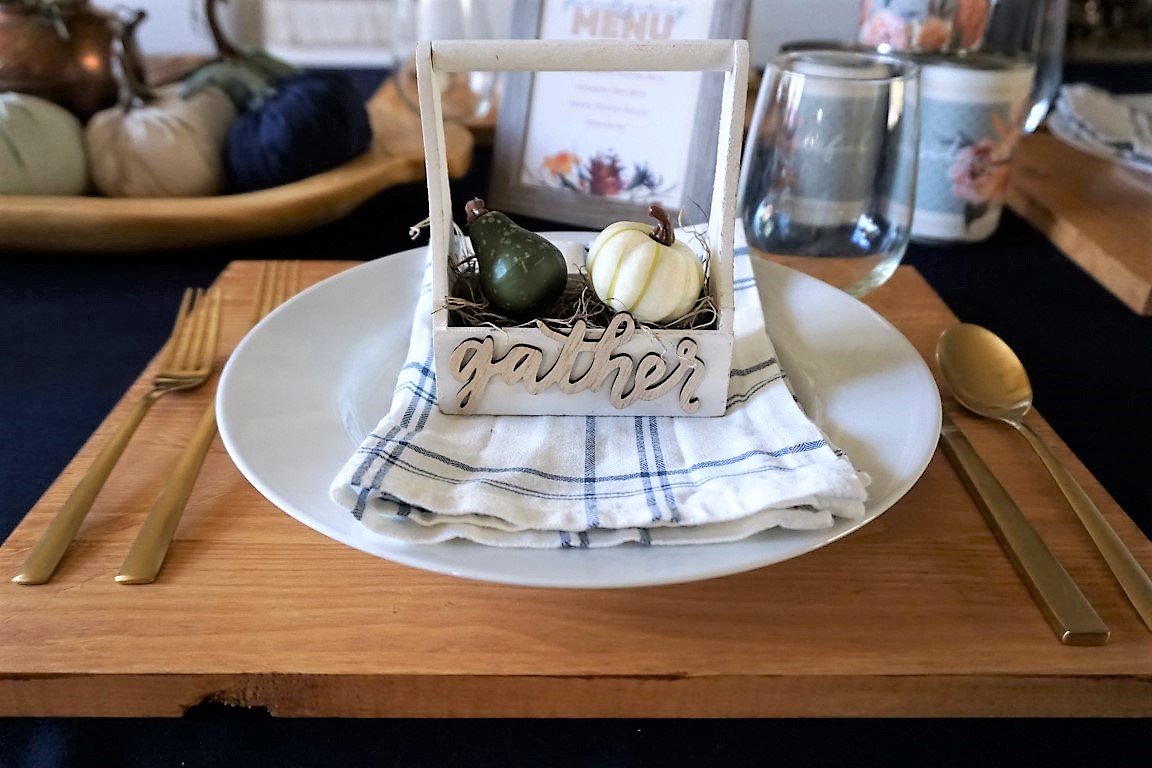
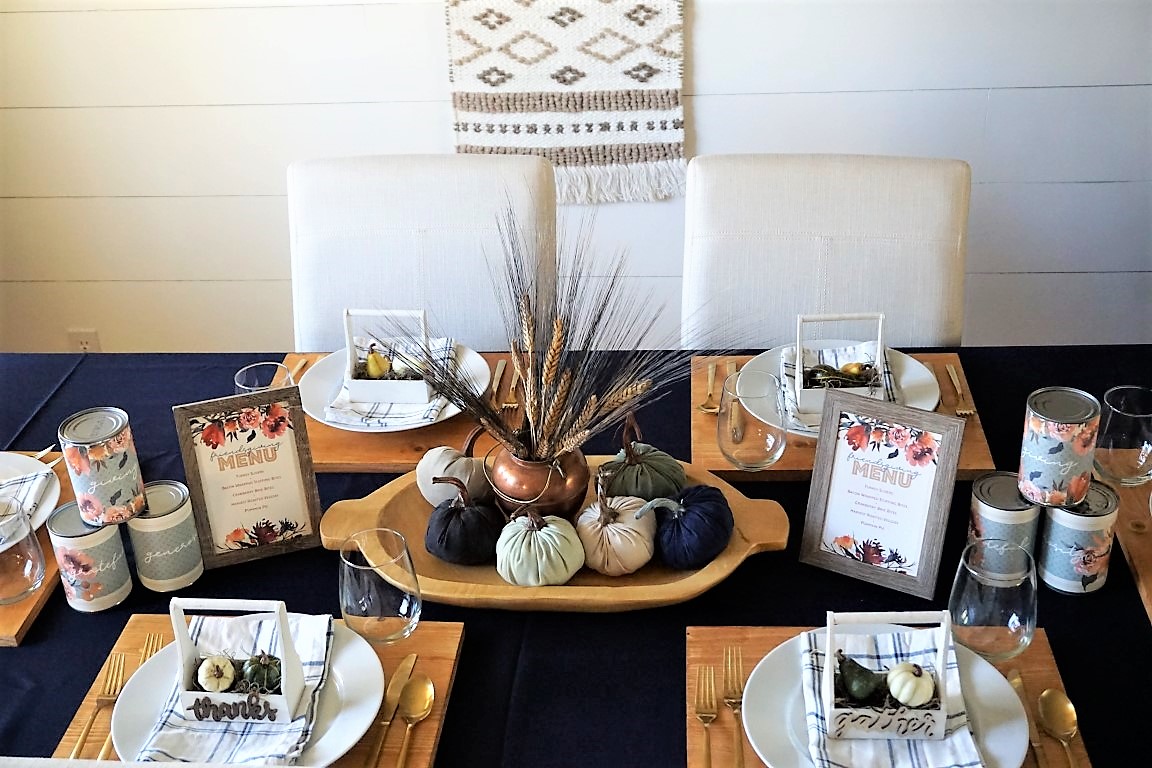
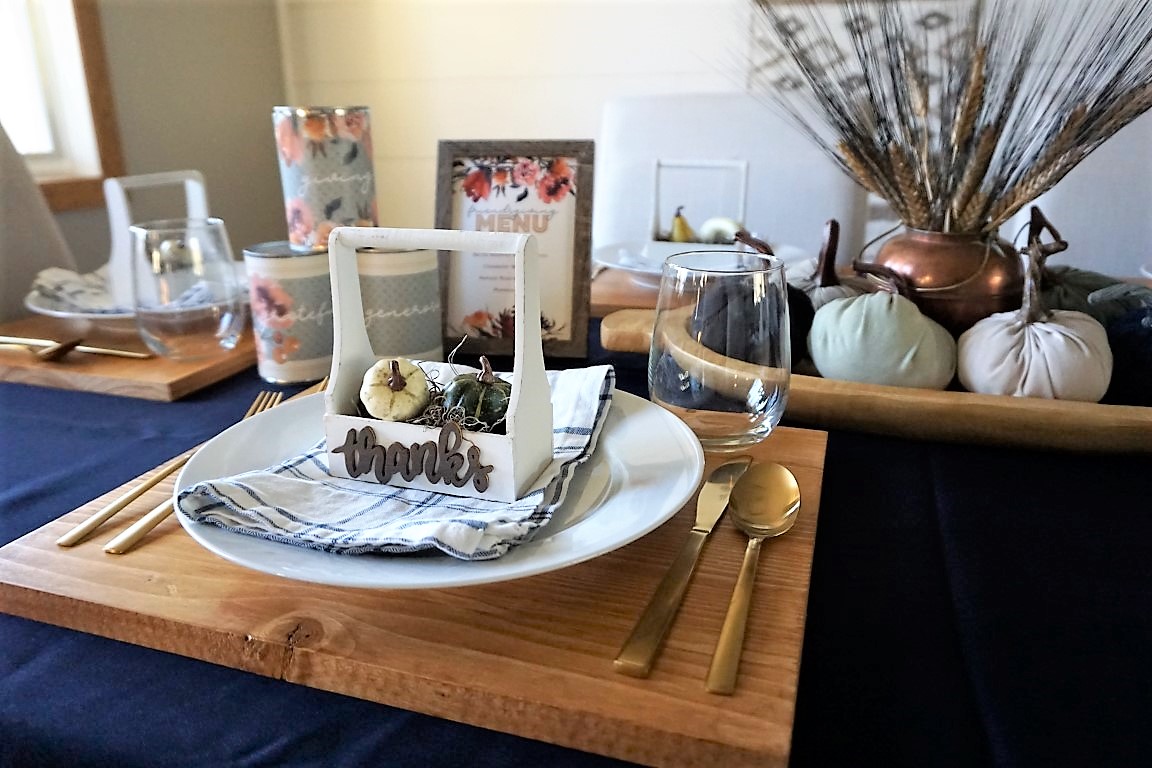
Now your chargers are ready to use! I had so much fun using them on this Friendsgiving Table and I know that they will be a gorgeous addition to so many more tablescapes in the future. If you have a tablescape lover in your life, these make an excellent handmade gift idea for the holidays as well!