
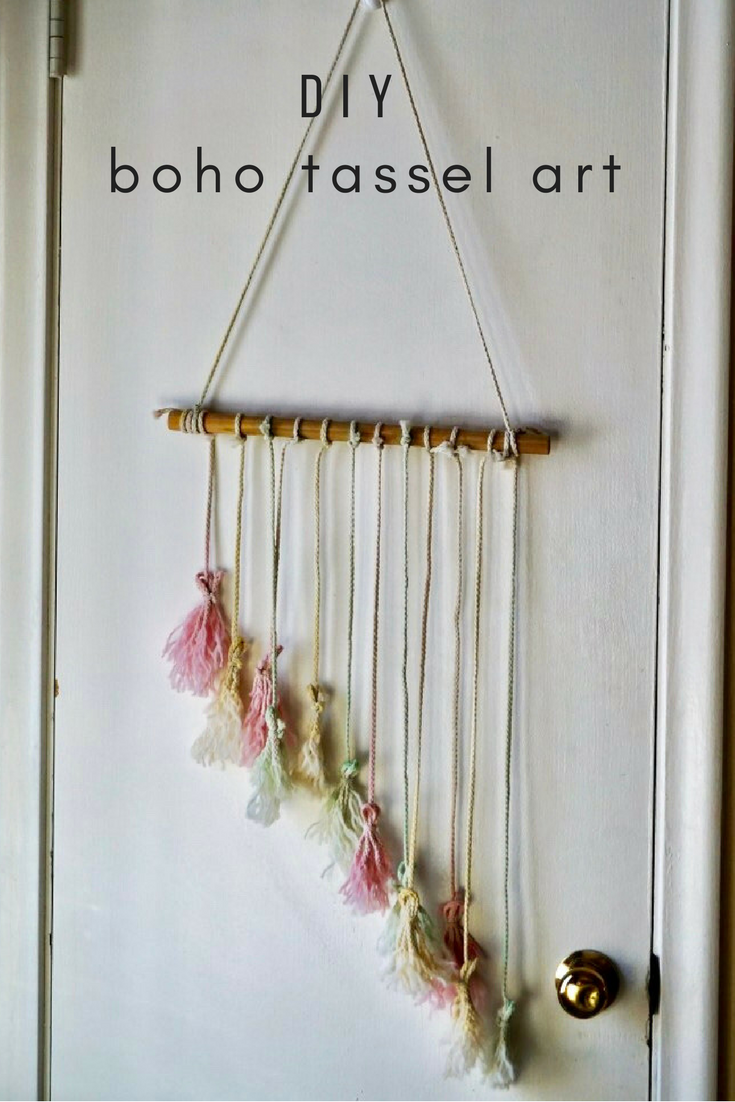
DIY Pastel Boho Tassel Art
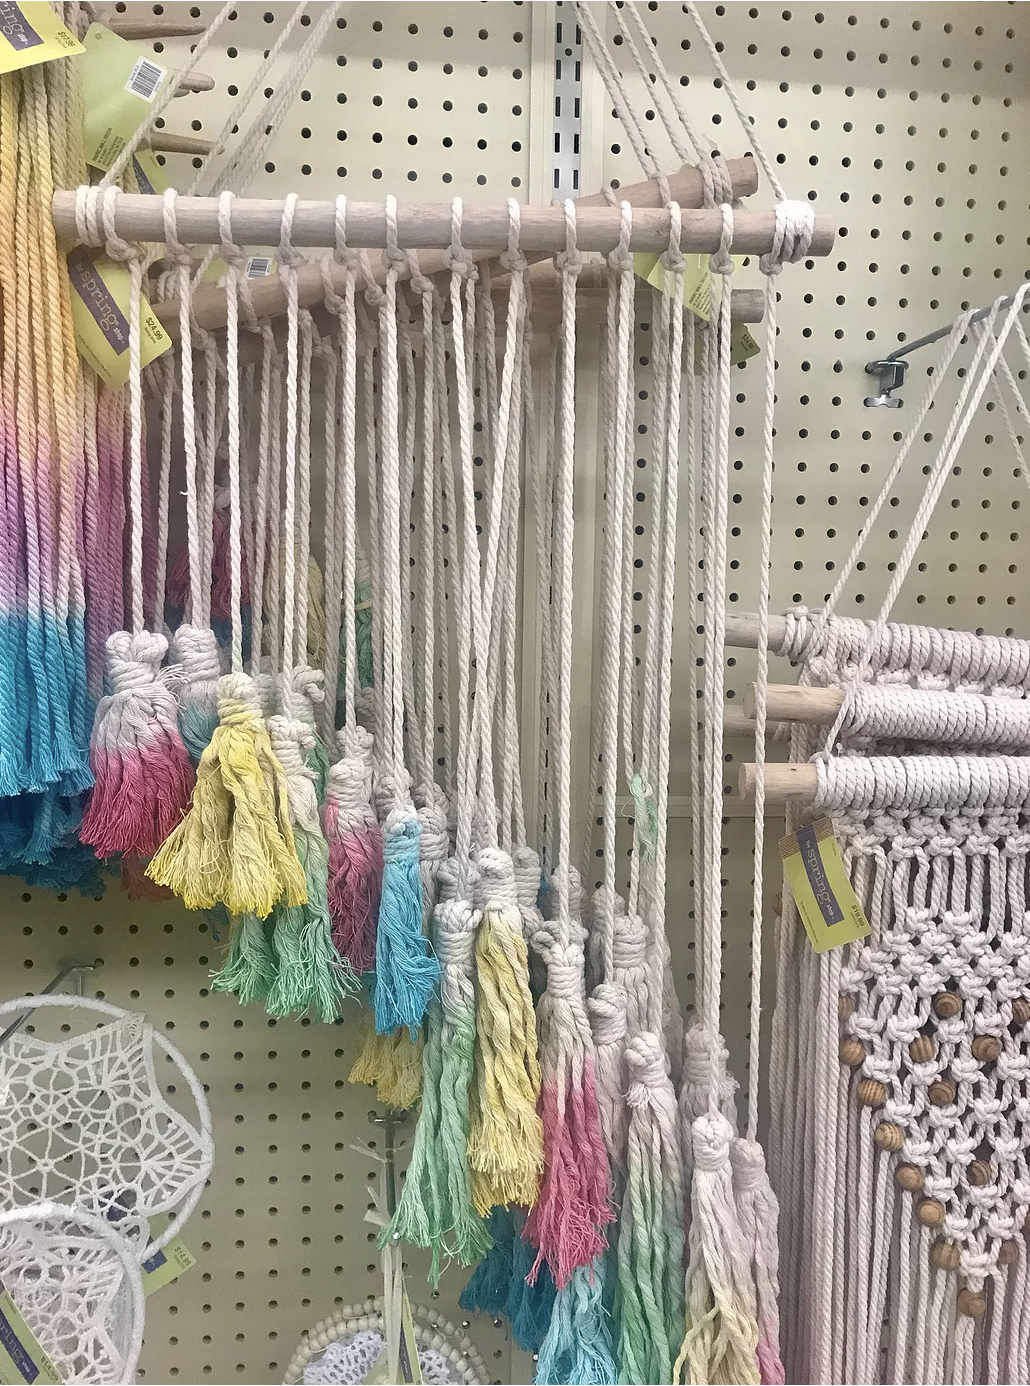
Boho-chic trends like macrame and tassel art seem to be popping up everywhere! As I prepared for a 30th Birthday party with a fiesta theme, I came across some boho-inspired tassel art at Hobby Lobby. With a price tag of more than $20, I decided I would try to make my own version!
What You Need
Macrame Rope
Scissors
Vinegar
Water

Step 1: Cut Your Dowel
If you buy a longer dowel, you will need to cut it down using a circular saw or ask for assistance with this at your local home improvement store. Craft stores tend to sell shorter dowels as well. Mine was cut to about 15 inches.
Step 2: Cut Your Rope & Tie to Dowel
To start, I cut 12 pieces of the same length. I'd recommend cutting them at about 16-18 inches long. Next, begin to knot the pieces of rope to the dowel. Once they have all been tied on, cut each piece slightly shorter than the previous piece to get a diagonal look.

Step 3: Create your Tassels
To be honest, the tassels were intimidating to me. I found help watching this video tutorial a few times before getting started. You'll need 24 pieces of roping that you will use to create your tassels. I recommend a minimum length of 3.5 inches. After you've tied on your tassels, you'll spend time unraveling the rope. To be honest, this was the most tedious and time consuming part. However, it can be a mindless task in front of the TV if you'd like!
Step 4: Prep Your Dye
I went back and forth about attempting to dye my tassel art creation or not. I did a little Instagram poll (If you're not following @legallycraftyblog, you should!) and the majority of people said yes to color! To prepare the dye, fill glass bowls with mostly water and add a pour of vinegar into the water. Then, add food coloring to create a color of your choice.

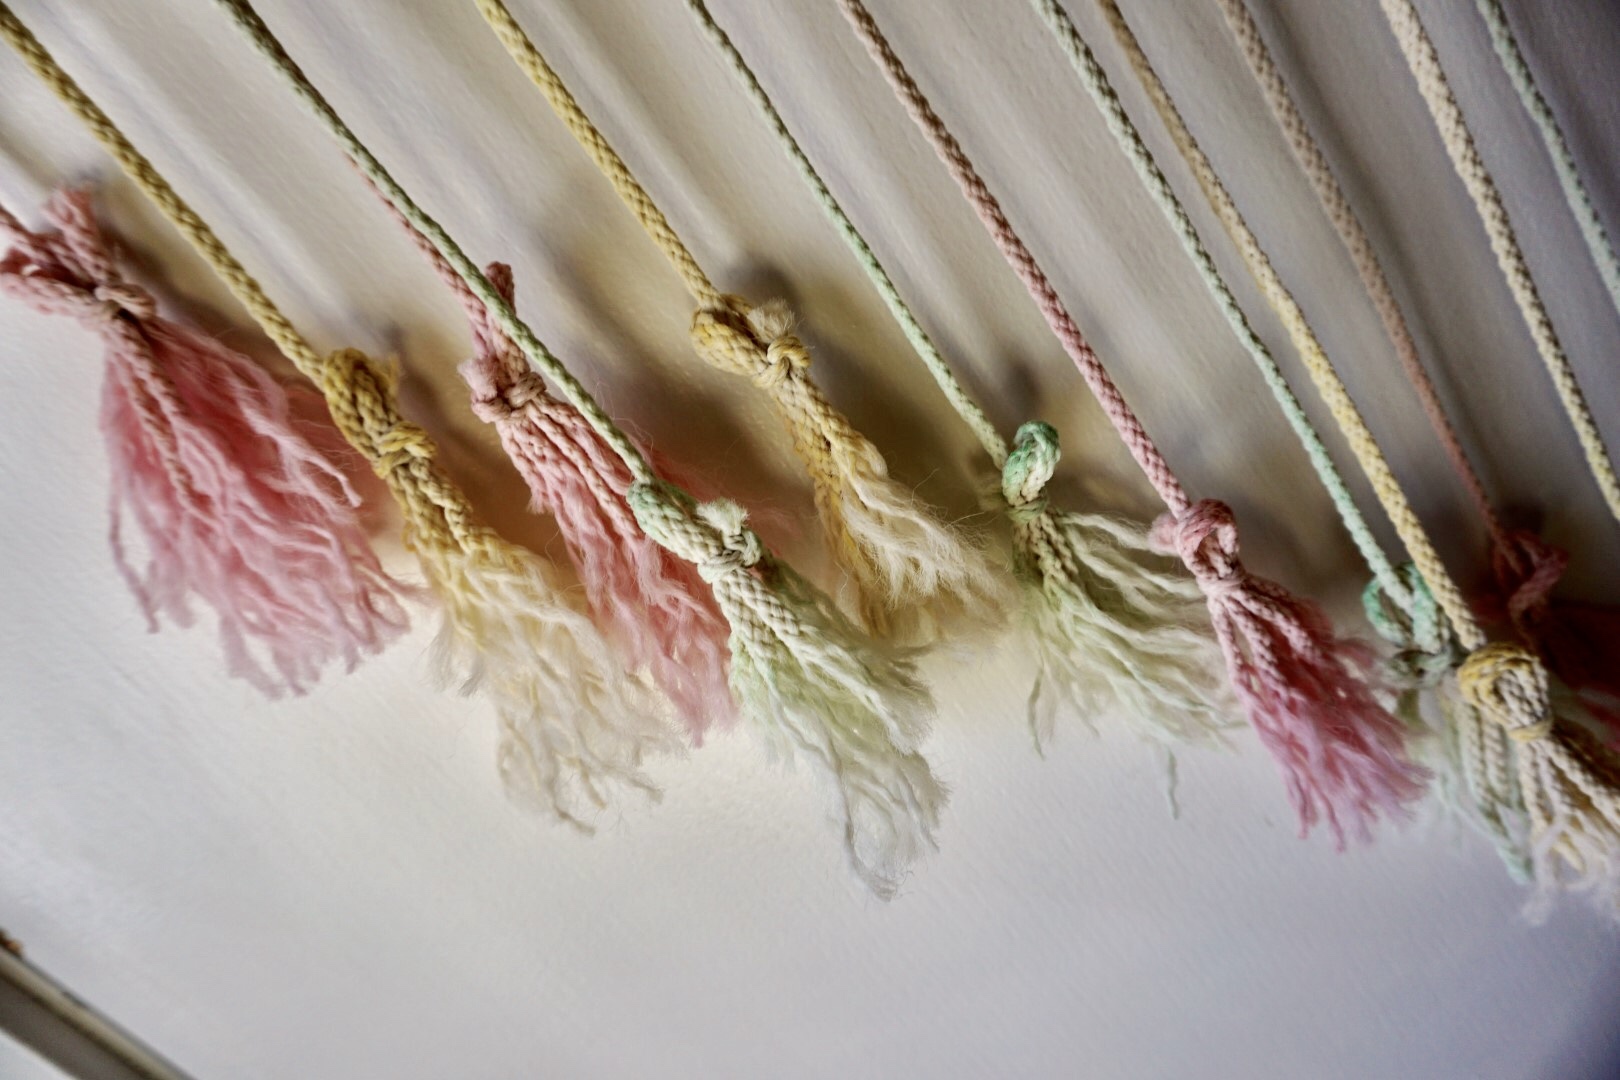
I decided to use three colors: red (to create a pink), yellow, and green. Insert the selected tassels into the bowls of dye and let sit for a minimum of 20 minutes. The longer the tassels sit in the dye, the darker they will get. You'll notice that the rope I used sucked up the dye beyond the tassels, but I didn't mind. For a pastel look, the rope doesn't need to stay in the dye for long. You could also use fancier dye, but I wanted to use items I already had around the house.

Step 4: Allow Dry Time
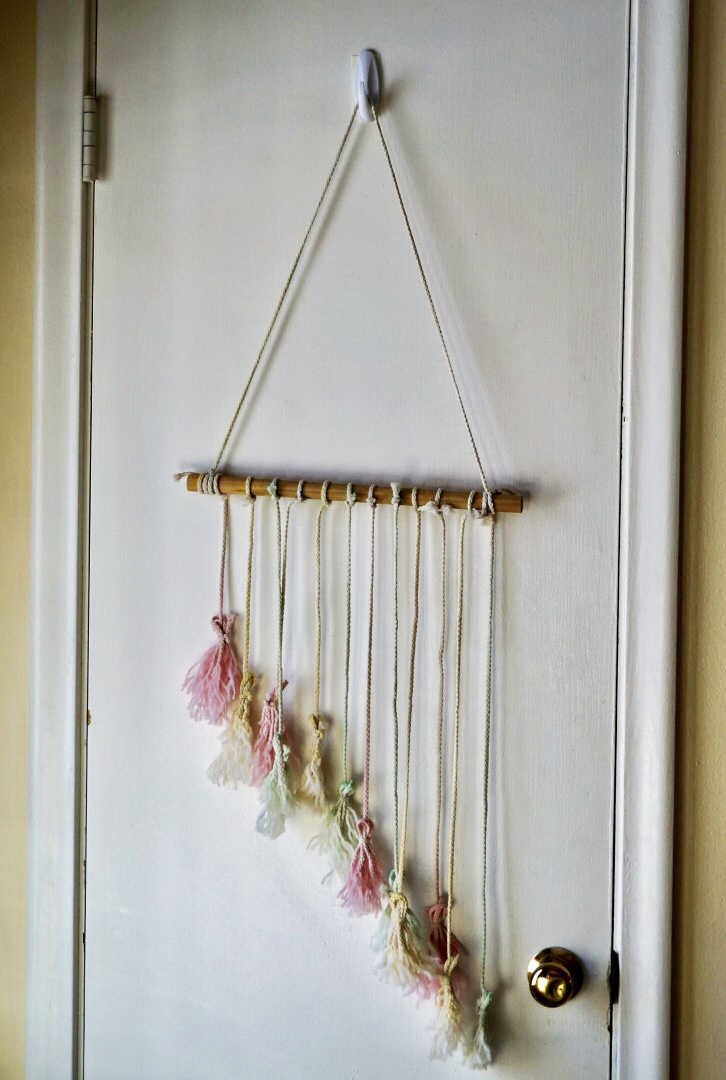
When the tassels reached a desired color, I pulled them out and placed them on layered paper towels to soak up excess liquid, before hanging the rope art to try. To create a way to hang the art, wrap some additional rope around the dowel and attach it to the other side. I let it dry overnight.

Although it isn't an exact match to what I saw at Hobby Lobby, I was happy with the result and I made it for a fraction of the cost! I also have plenty of supplies to spare if I want to make additional tassels or another macrame project!
This post contains affiliate links, which means we may receive a commission if you click a link and purchase something that we have recommended. While clicking these links won't cost you any extra money, they will help us keep this site up and running!