Welcome to the Wedding! Free Timeline Printable & Ideas for Welcome Kits for Your Guests
Your wedding day is certainly a lot about you and celebrating your marriage to one another, but it's also nice to think about your guests. For us, much of our family does not live in the area and had to travel in for the wedding. In addition, our venue was about an hour outside of the city, so many of our local guests also decided to stay at a hotel for all or part of the weekend.
I first saw the idea for welcome bags or kits when I attended my cousin's California wedding five years ago. With so many friends and family traveling in, we were all greeted with a welcome kit upon arrival to the beach-side hotel where the festivities would be taking place. Fitting the beach theme, they had gotten sand pails and filled them with snacks, waters, and information on local attractions. It also included an itinerary for the wedding weekend and other guest information. I remember thinking it was such a great idea and it prevented the bride and groom from having to answer a lot of questions.
Since that wedding, Chris and I have traveled to a few other destination weddings and the welcome goodies have always come in handy. Then, last year, we stayed at the hotel when his sister got married and, again, the welcome bag to rescue!
So, when planning our own wedding this year, I knew welcome kits were a must.
I decided that I liked the idea of using kraft boxes since we planned to incorporate kraft paper in our paper goods for the wedding. Thinking ahead, I decided to buy these in bulk early on because I also used them for my bridesmaid ask boxes. I ordered a pack of 100 from Staples. The list price is $49.99 but keep a look out for sales, coupons, or offers for cash back through your credit card.
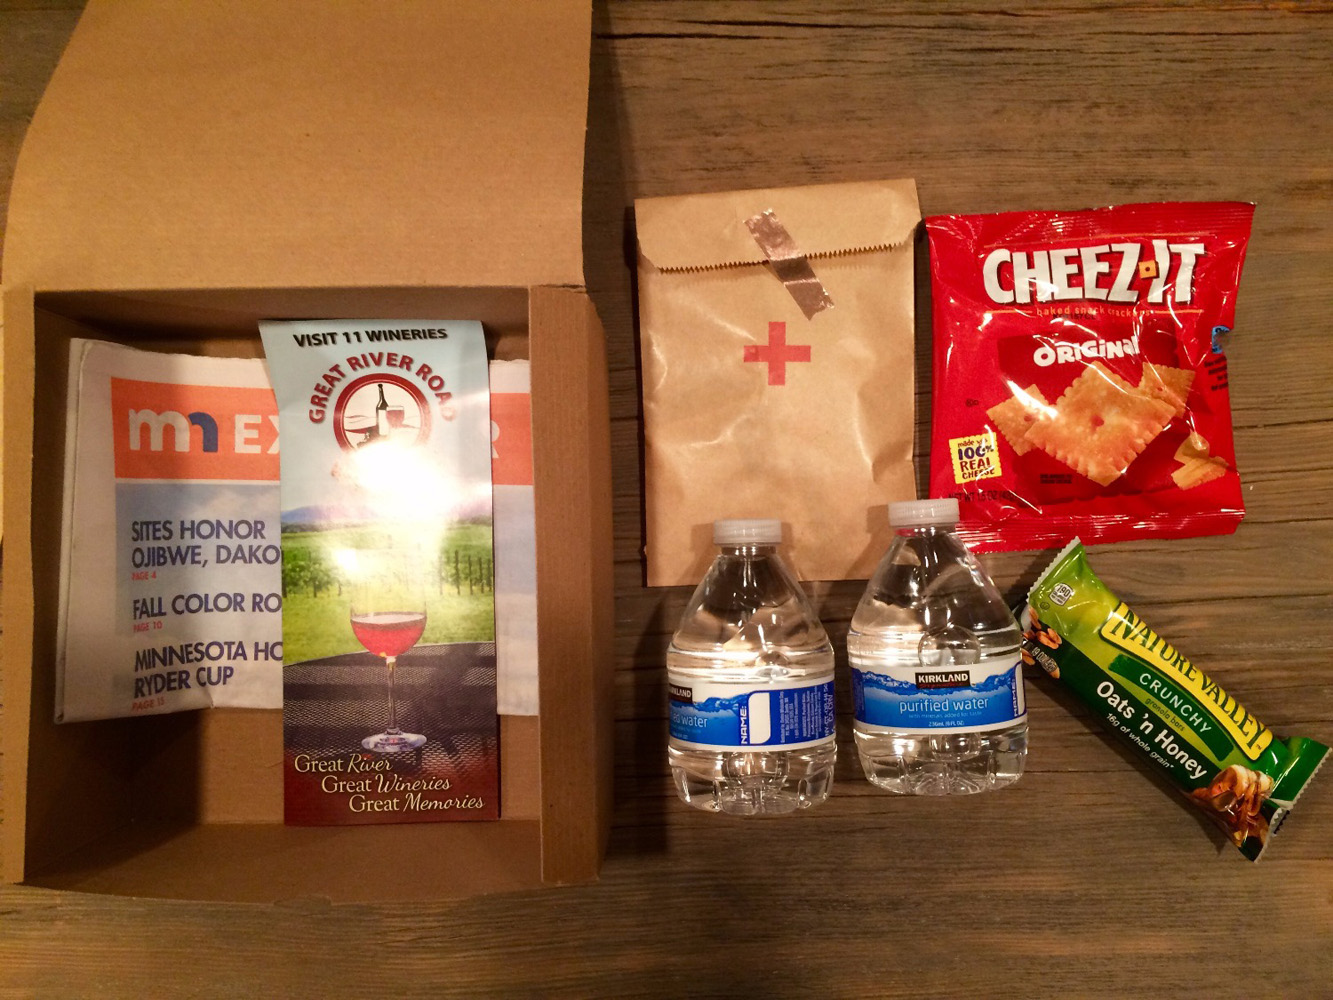
Now for stuffing the boxes! Snacks and water are a must! After doing some shopping, Costco was the most economical for these items. I've certainly seen some cute boxes featuring local goodies, but we didn't have enough allocated in our budget for that. We went with Cheez-Its, an assortment of cookie options, granola bars, and waters.
We also wanted to include information about the area for those who had a little more time for exploring. Coming back from my bridal shower in Iowa, I stopped at a Minnesota Welcome Center to get free copies of the Fall Guide to include. We also asked the winery for a stack of "Wine Road" brochures that showcased many of the vineyards in the area.
The bags were also topped off with one of the Hangover Kits that I previously featured on the blog.
Finally, we used the welcome kit to give guest an itinerary of the weekend. This let people know where they could visit with us Friday night, the day of timeline for the wedding and when shuttles would be running, and when brunch was the next day. A number of these timelines are available for purchase from Etsy, but I thought, I can do this myself! Using PowerPoint and some royalty-free clipart, I made my own timeline. Before printing, I'd recommend saving the file as a PDF to avoid any issues with font or formatting. We designed it to have two schedules on each 8 1/2 x 11 page and cut them in half.
For a free download of the file, to make your own, click here. Does rearranging all of this seem daunting? I'd be happy to customize a timeline for you for $10. Comment below or email me at legallycraftyblog@gmail.com.
Here they are all printed and in the boxes!
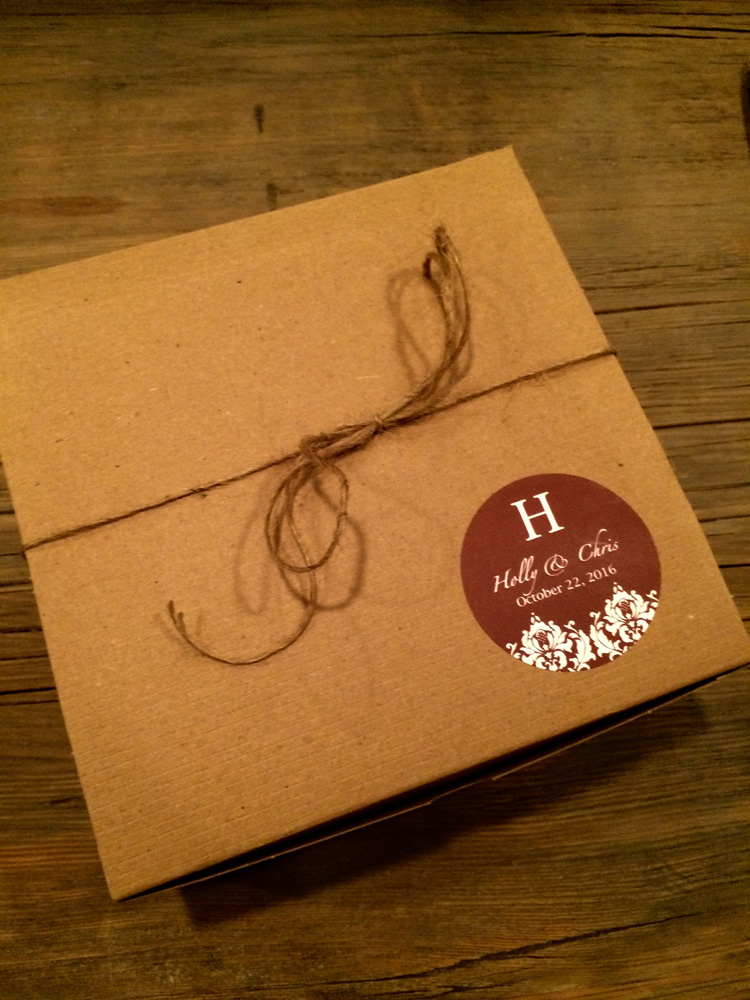
To finish off the boxes, we added a personalized sticker in one of our wedding colors. The stickers are available for purchase here. We then tied them with jute twine. A pack of 3 is available at Dollar Tree for $1 or if you want some thicker twine, I recommend looking at Michaels or Hobby Lobby. You can usually find it in the floral department or jewelry department.
We received so many compliments on the boxes! Our guests loved them and many people commented on how much they came in handy. Our guests and the hotel also mentioned how nice it was to have the detailed schedule.


